French Press

Let's Brew It: French Press
The French press is a truly classic method of brewing coffee. French press uses an immersion method, resulting in a full-bodied and flavorful brew, and is a super simple way to make a delicious cup (or two) of coffee.
What You Need
-
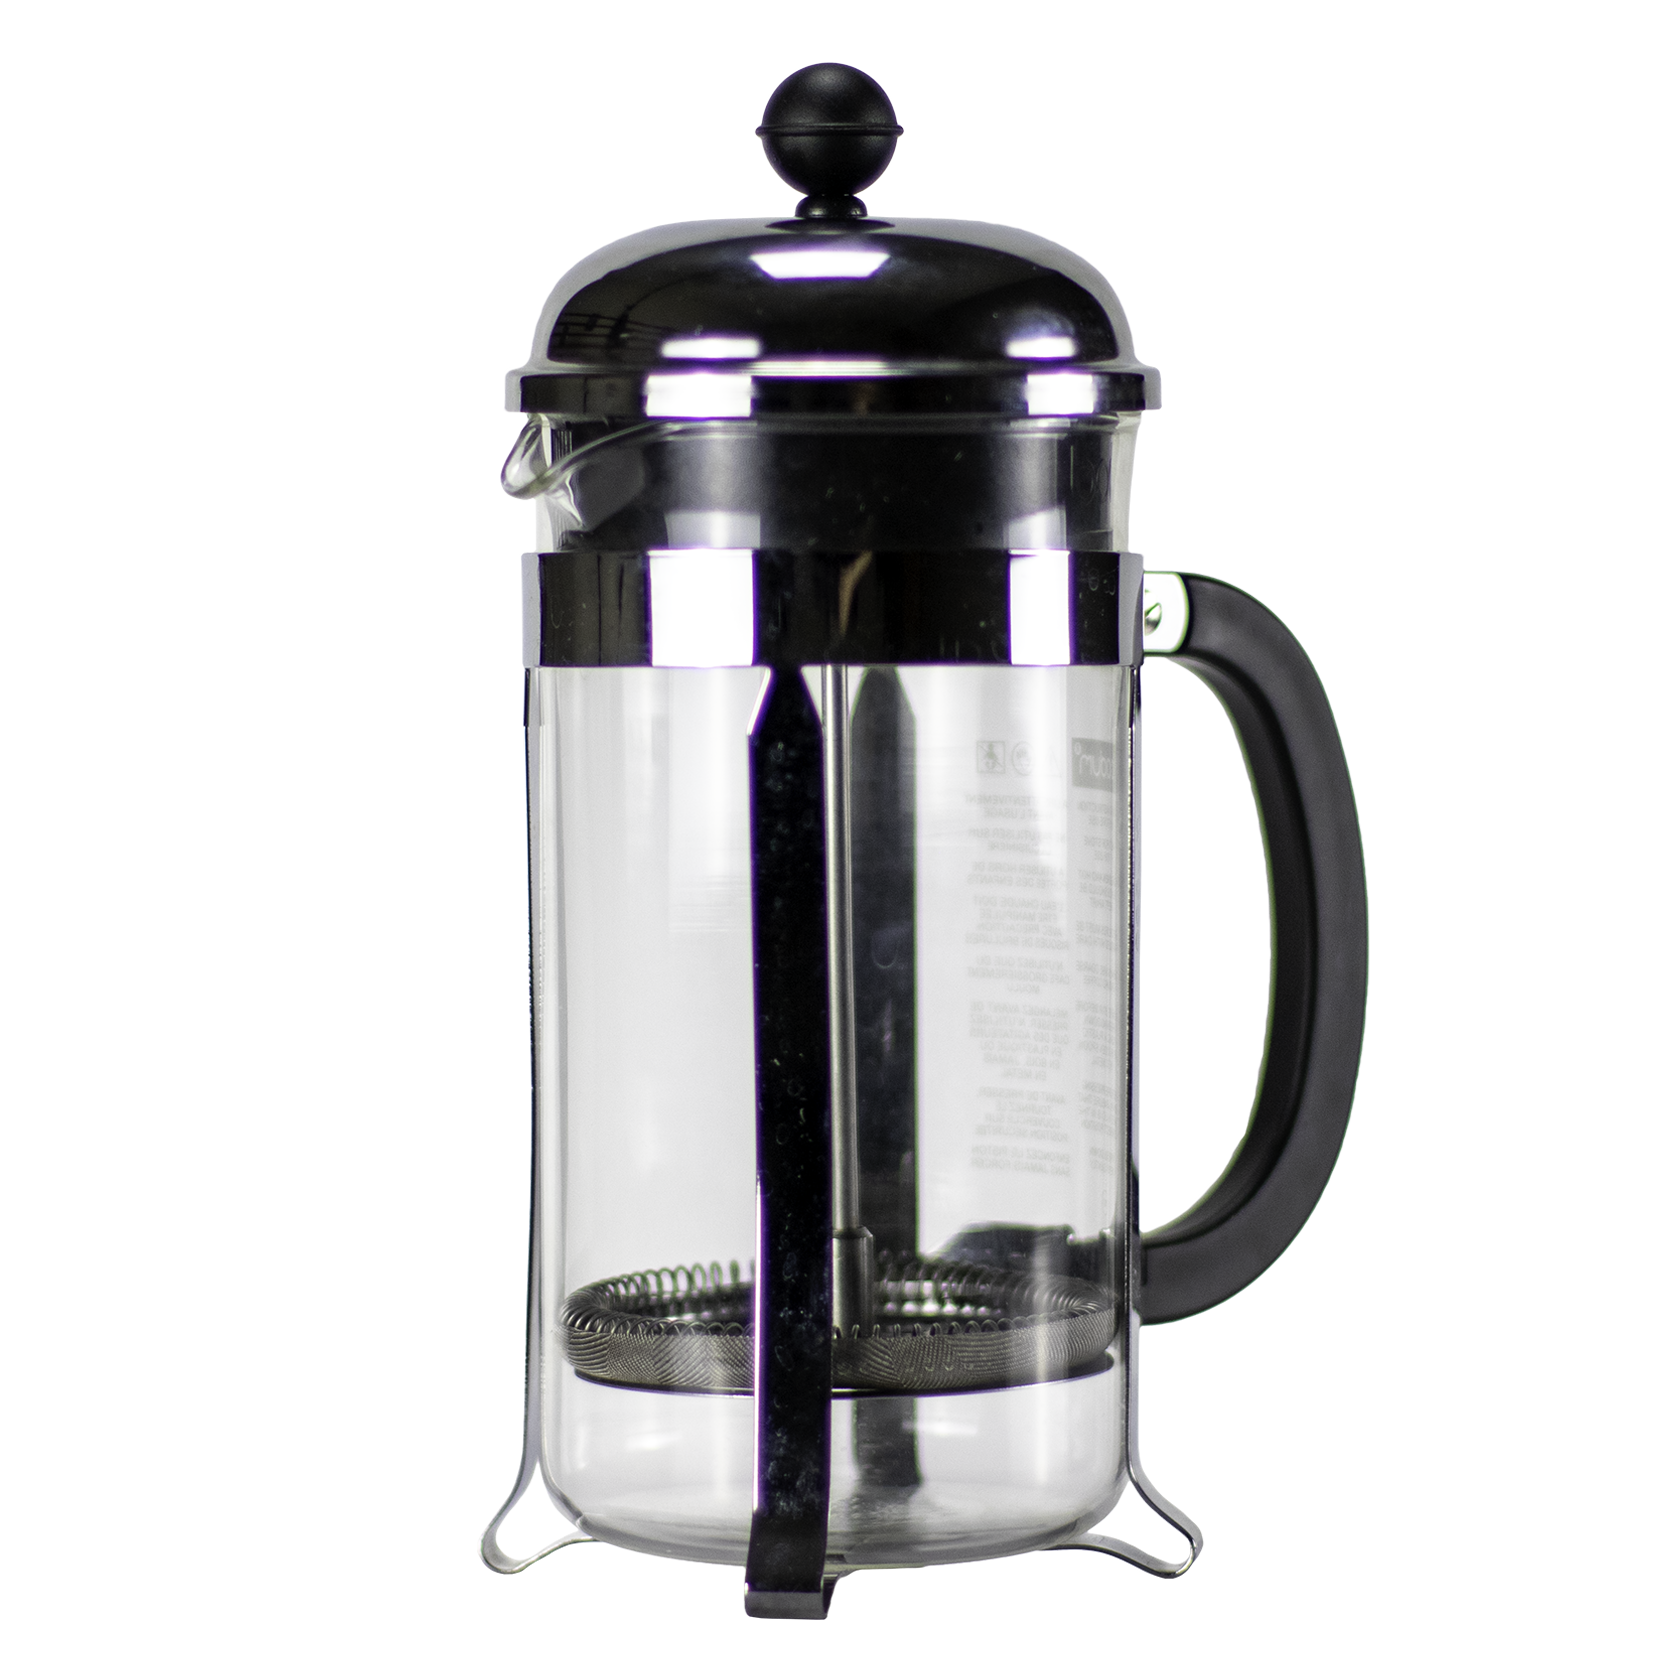
Bodum Chambord 8 Cup French Press
-
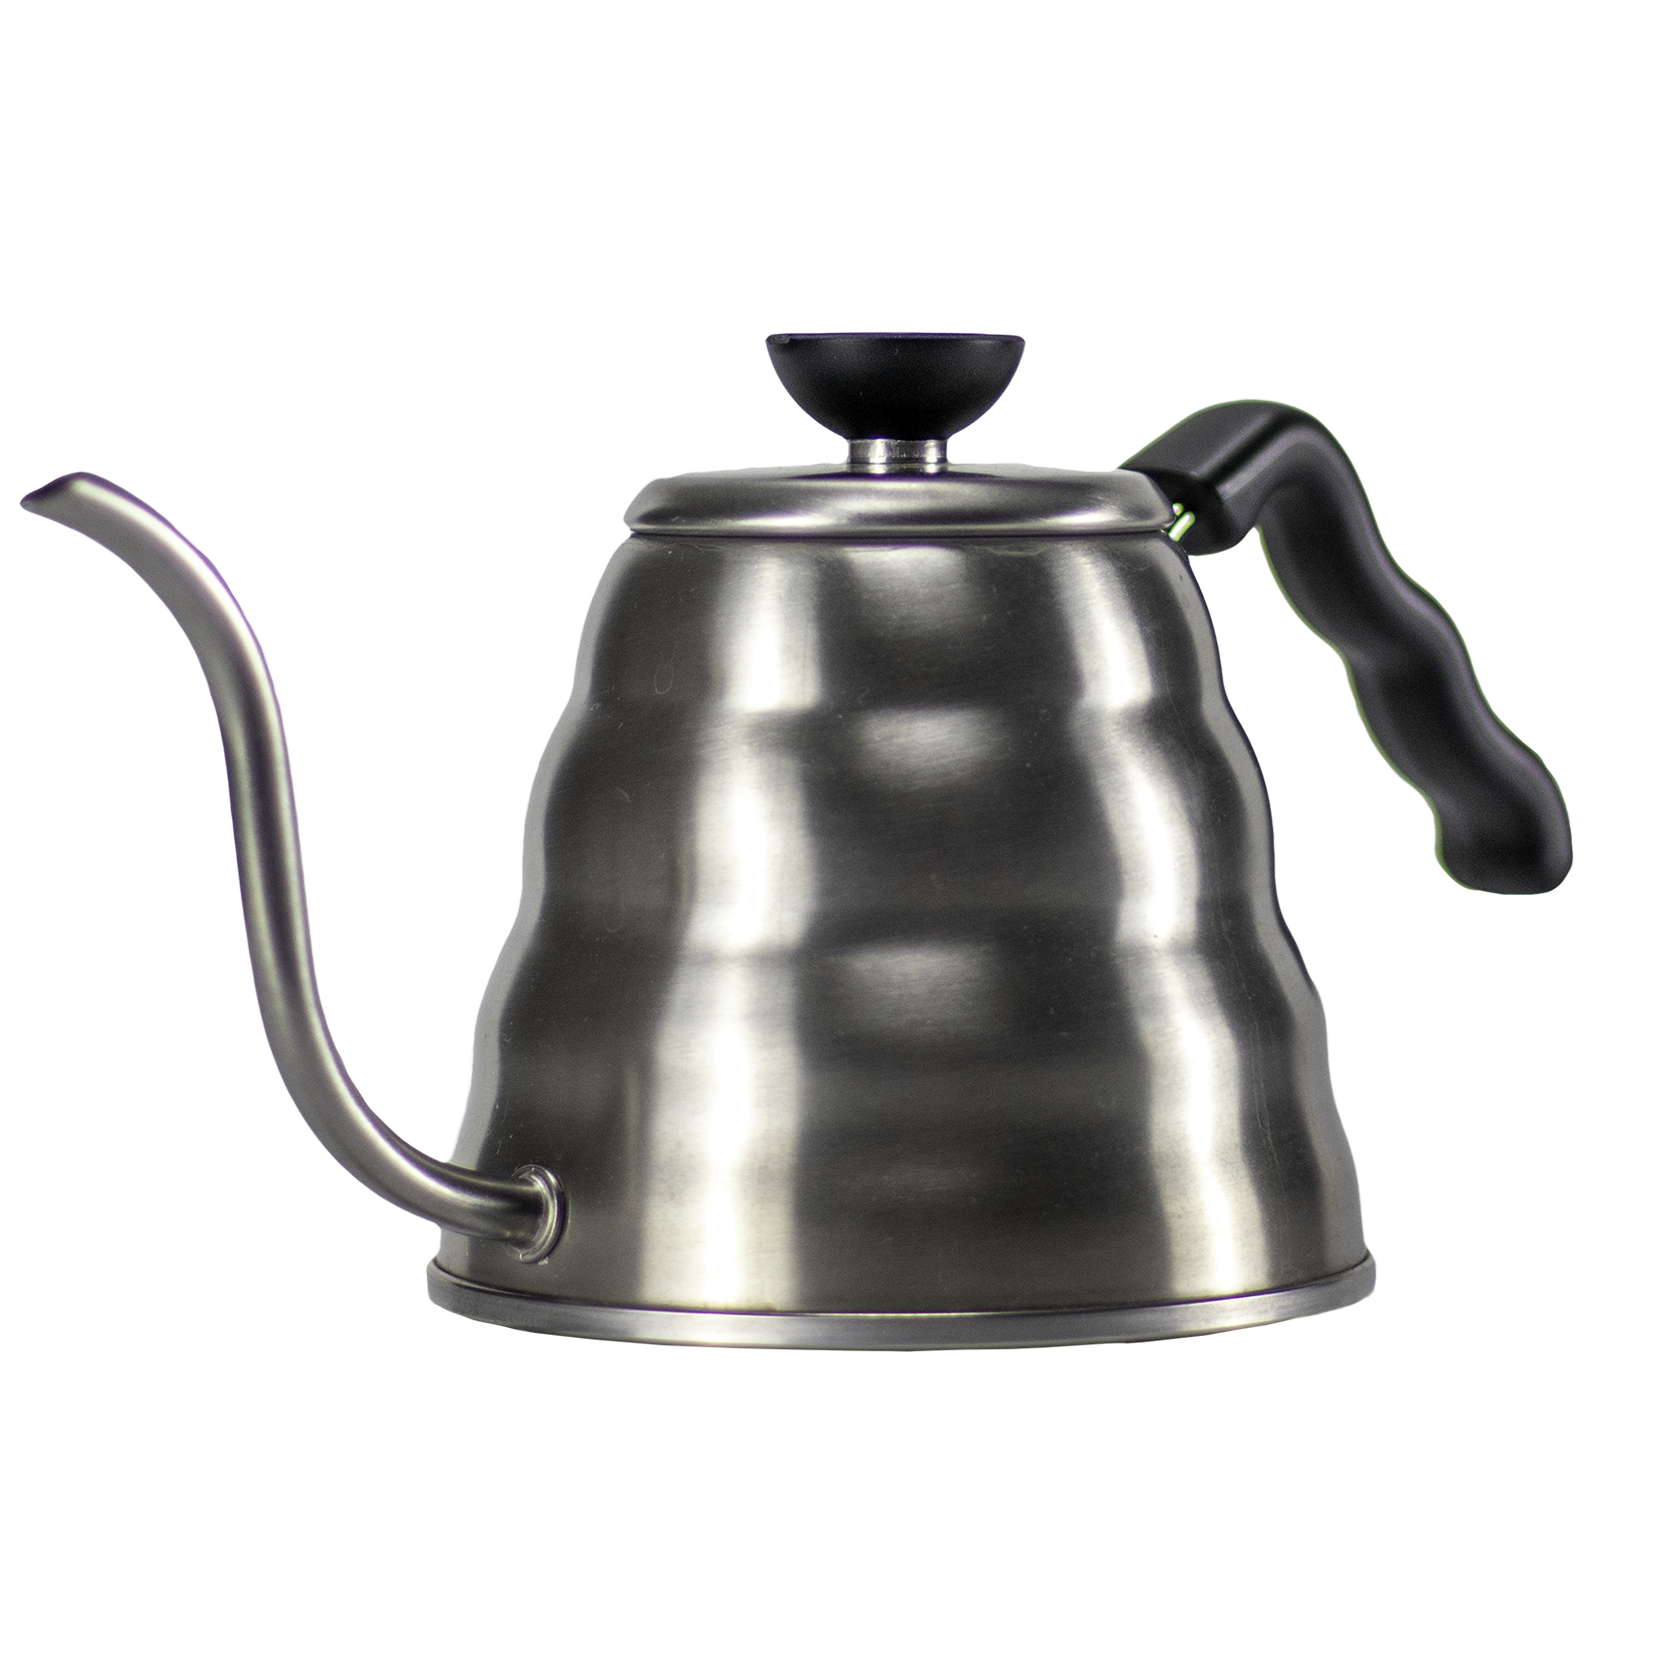
Gooseneck Kettle
-
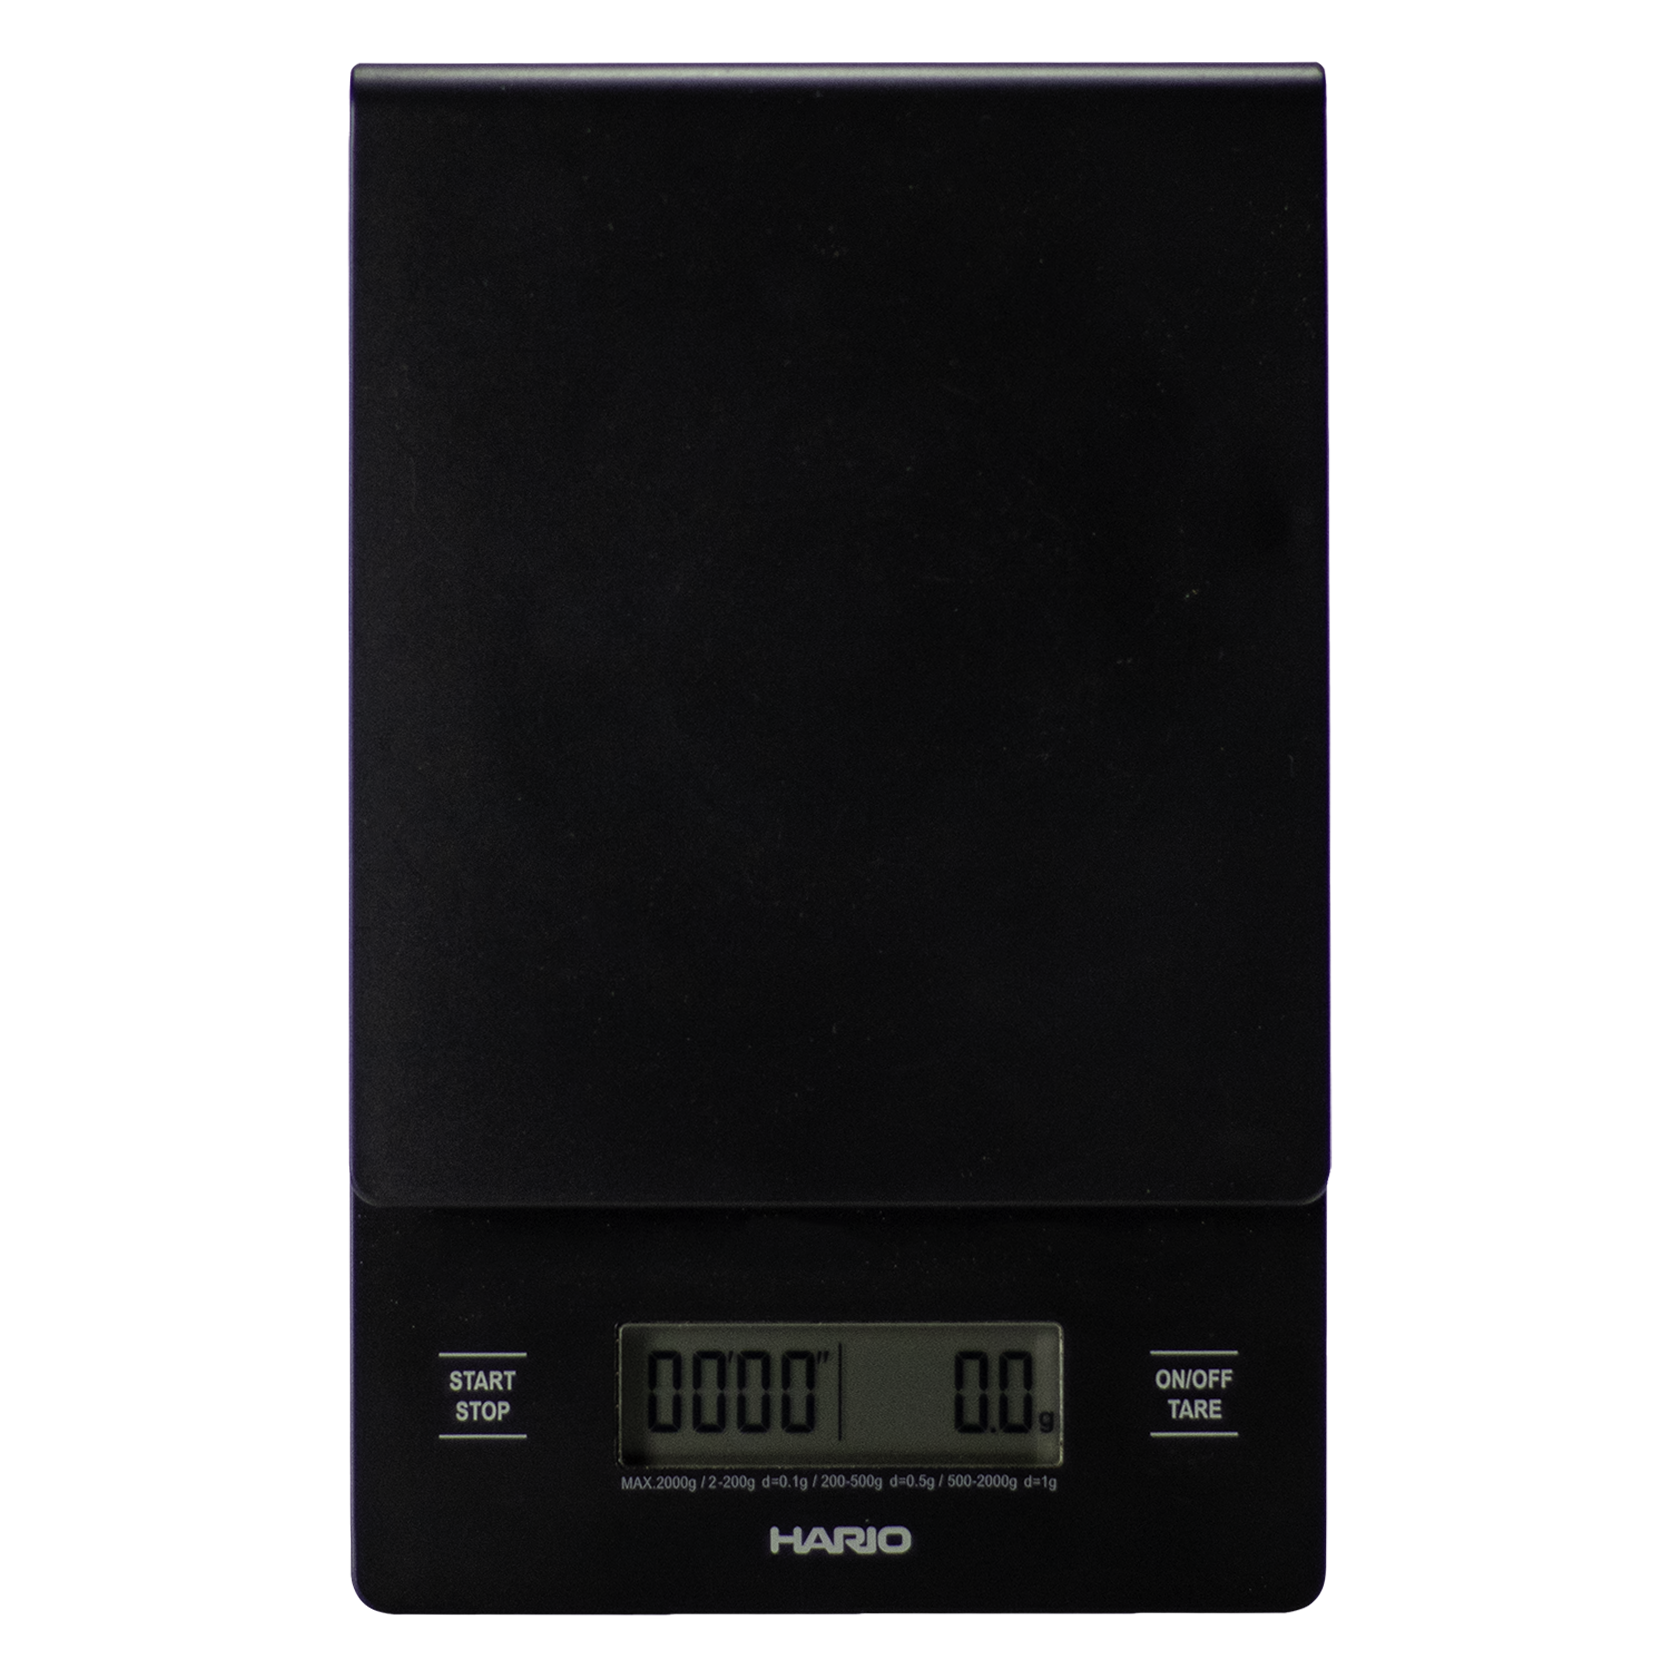
Scale
-
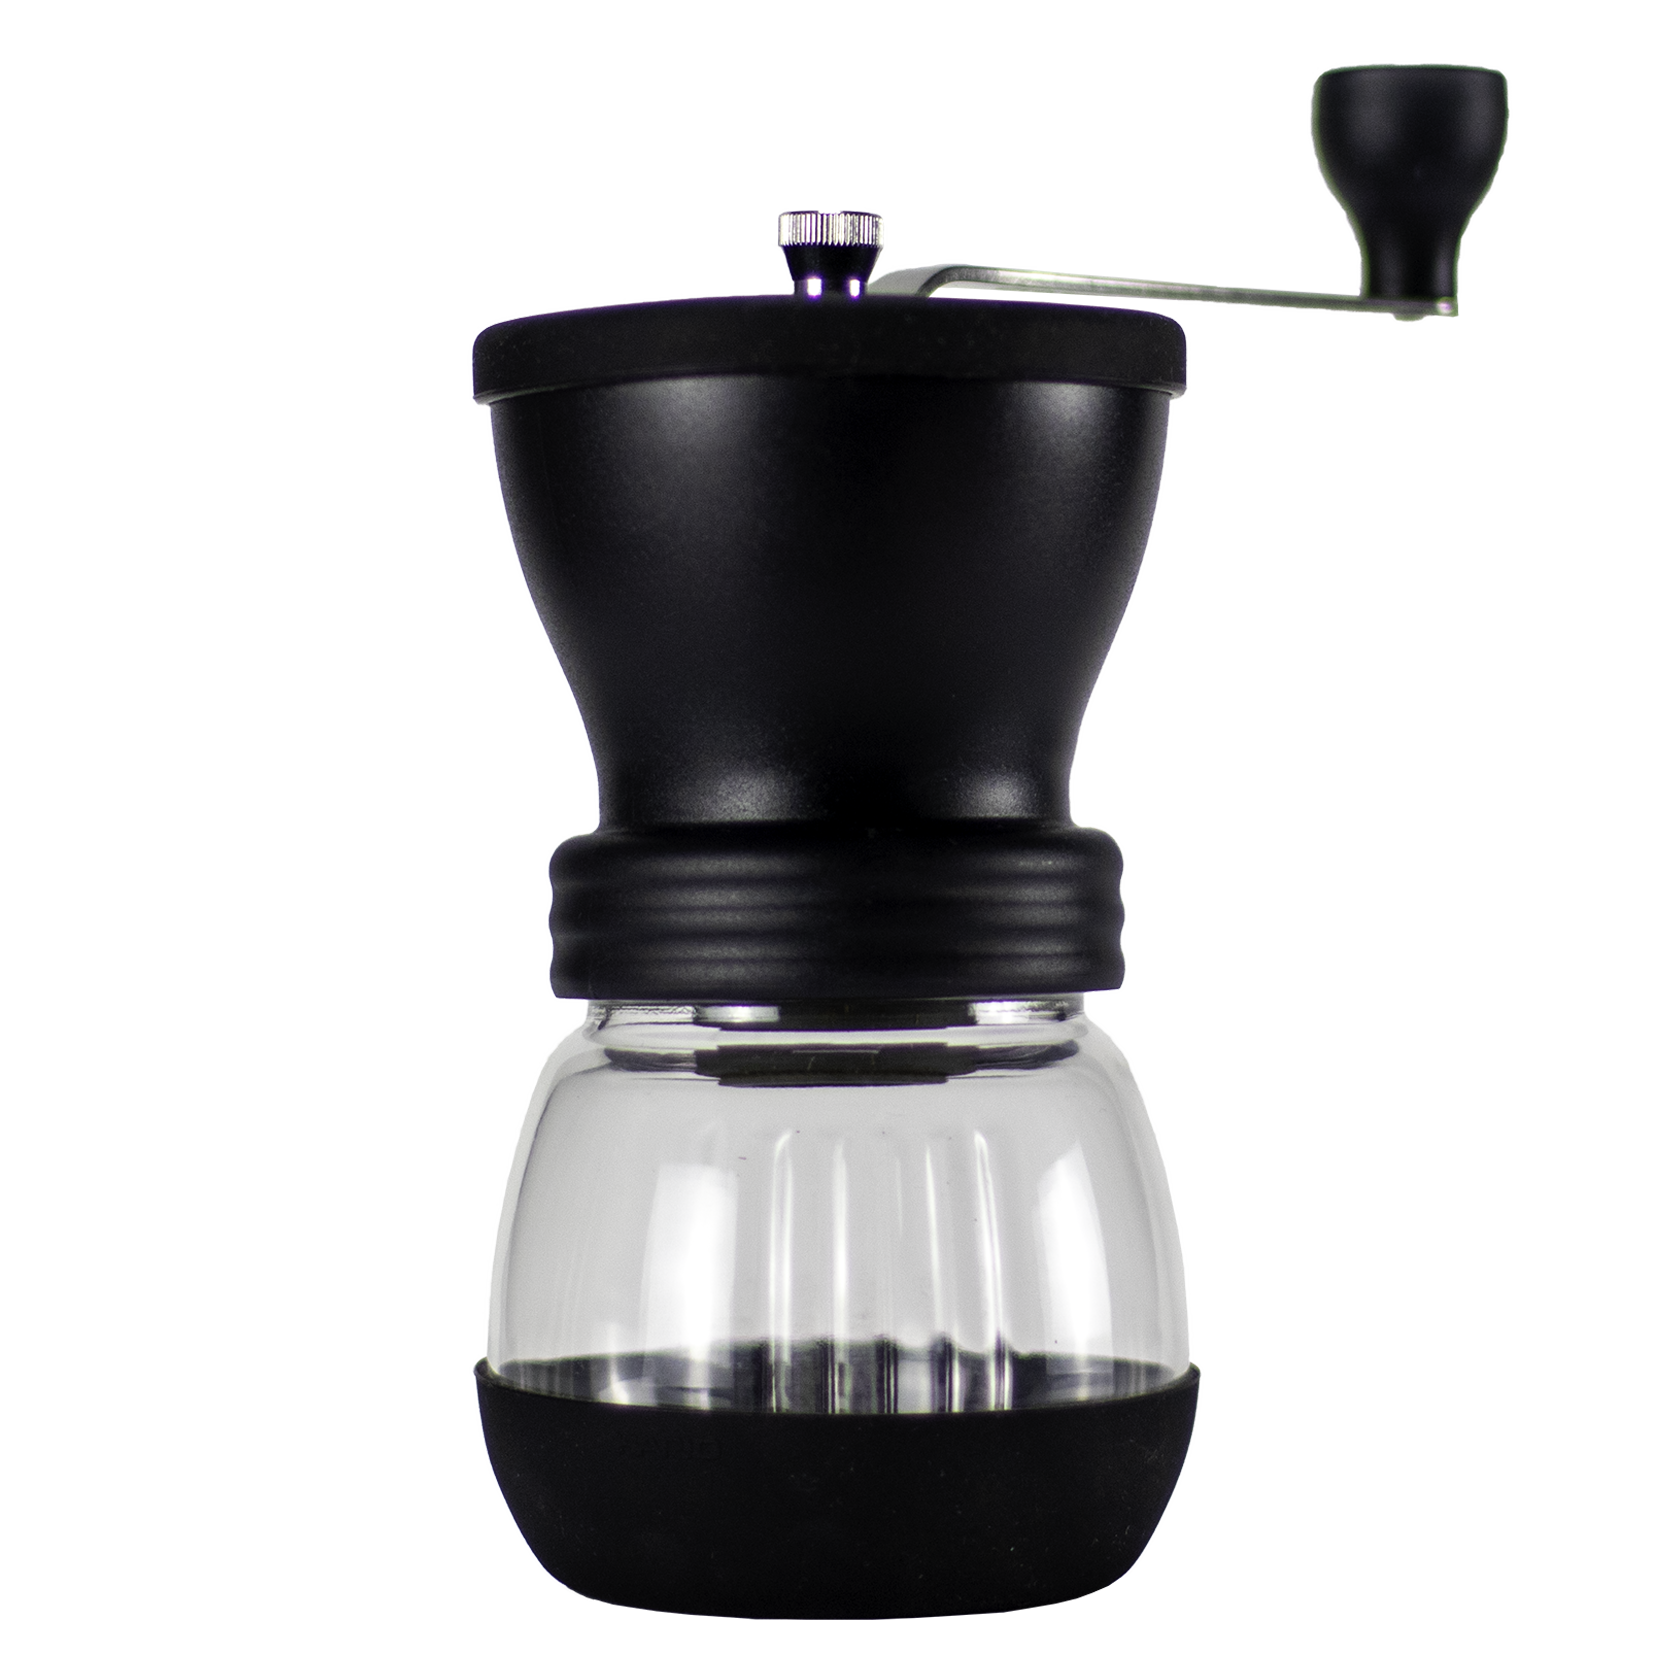
Coffee Grinder
-
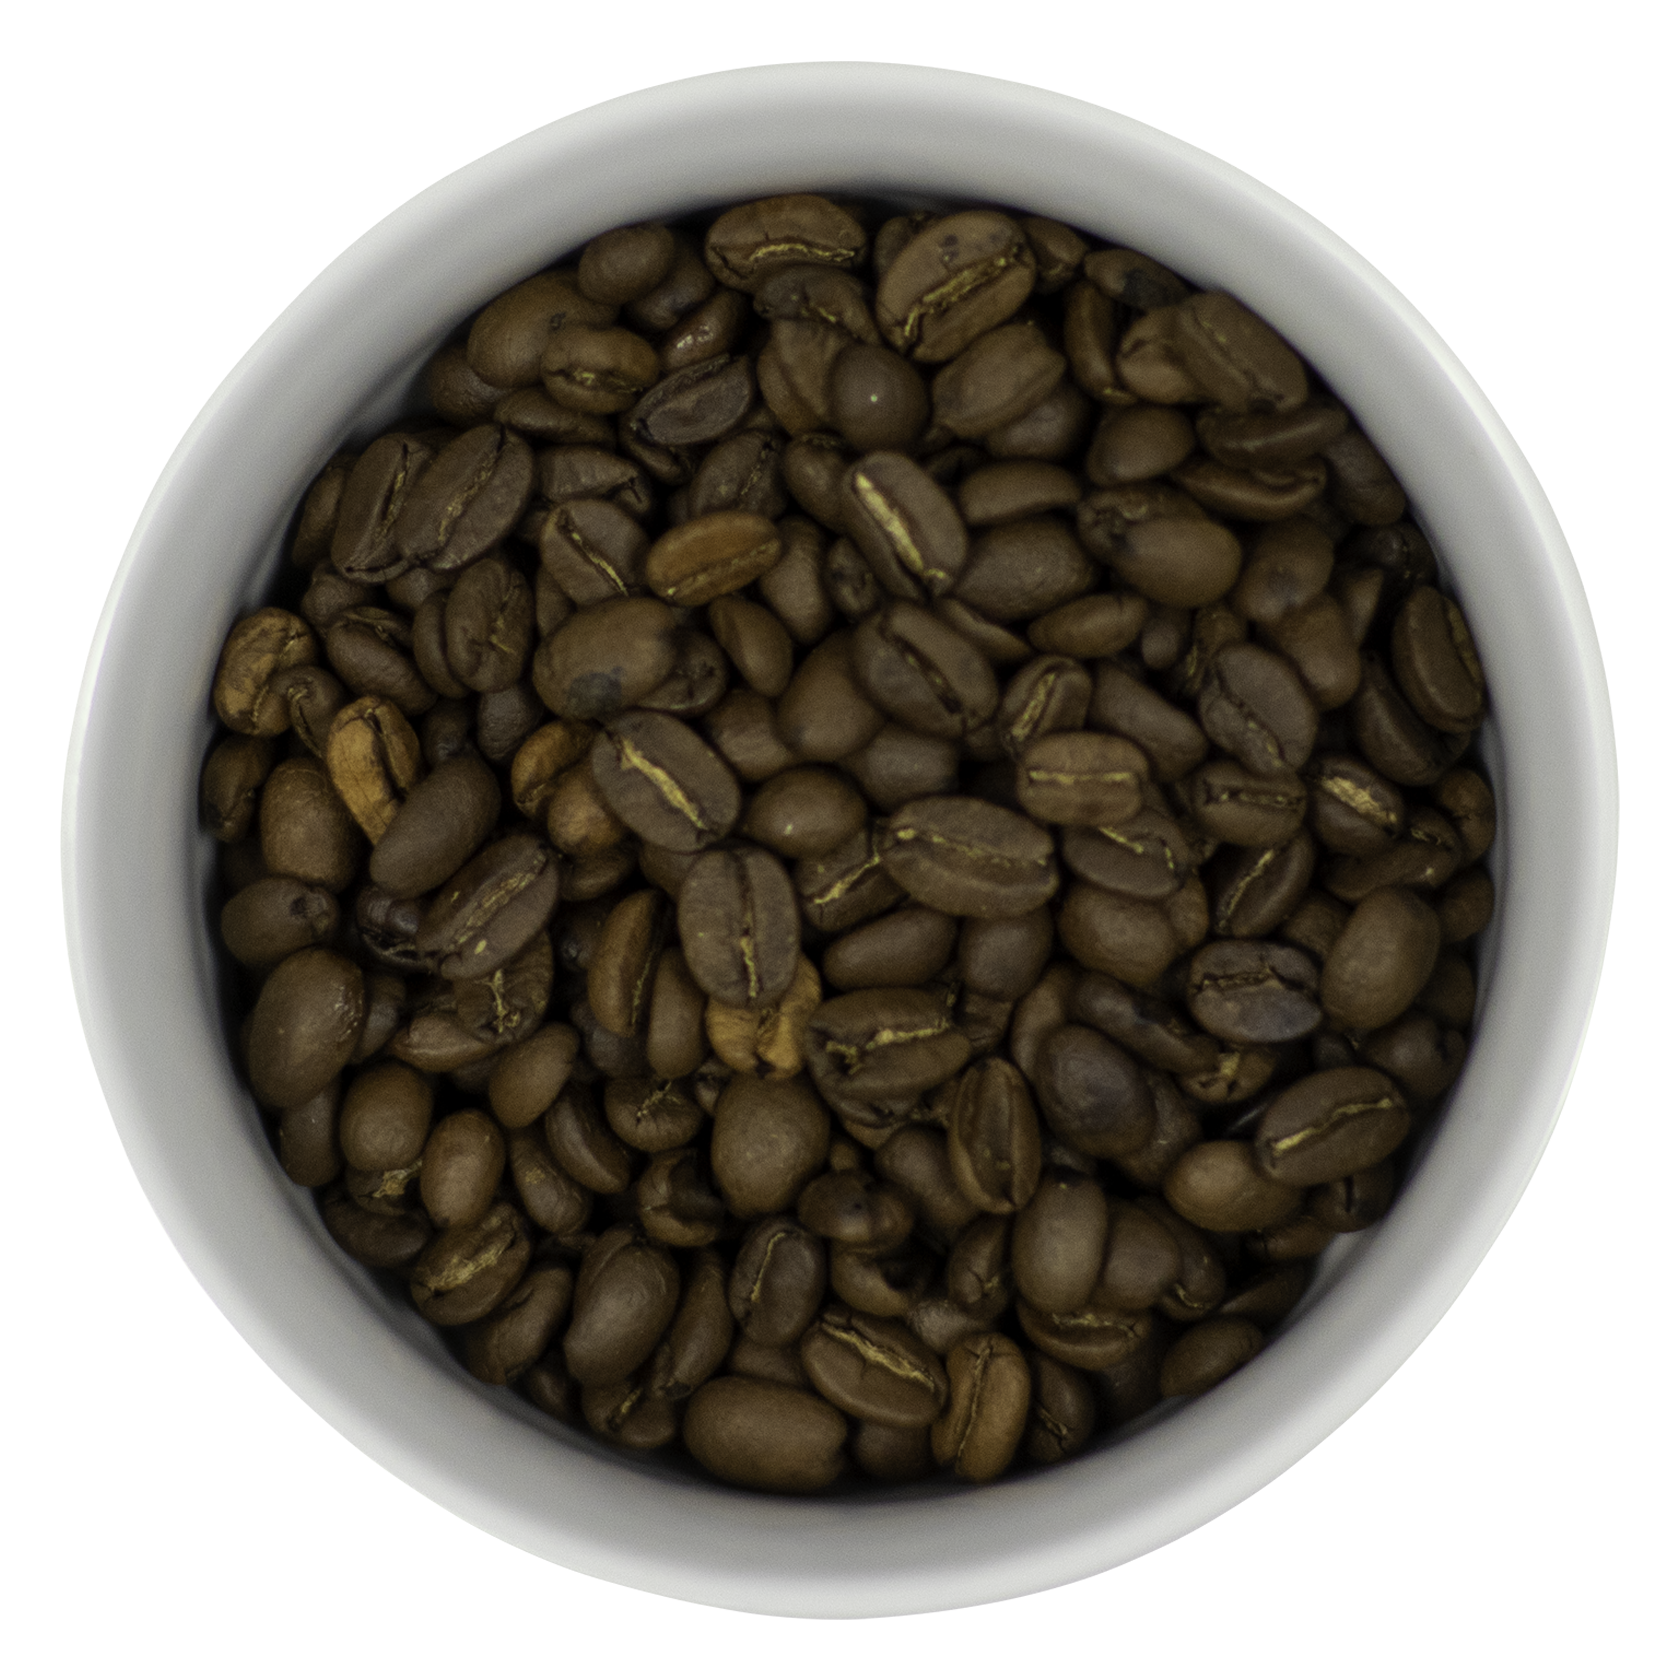
Whole Bean Coffee
54g
-
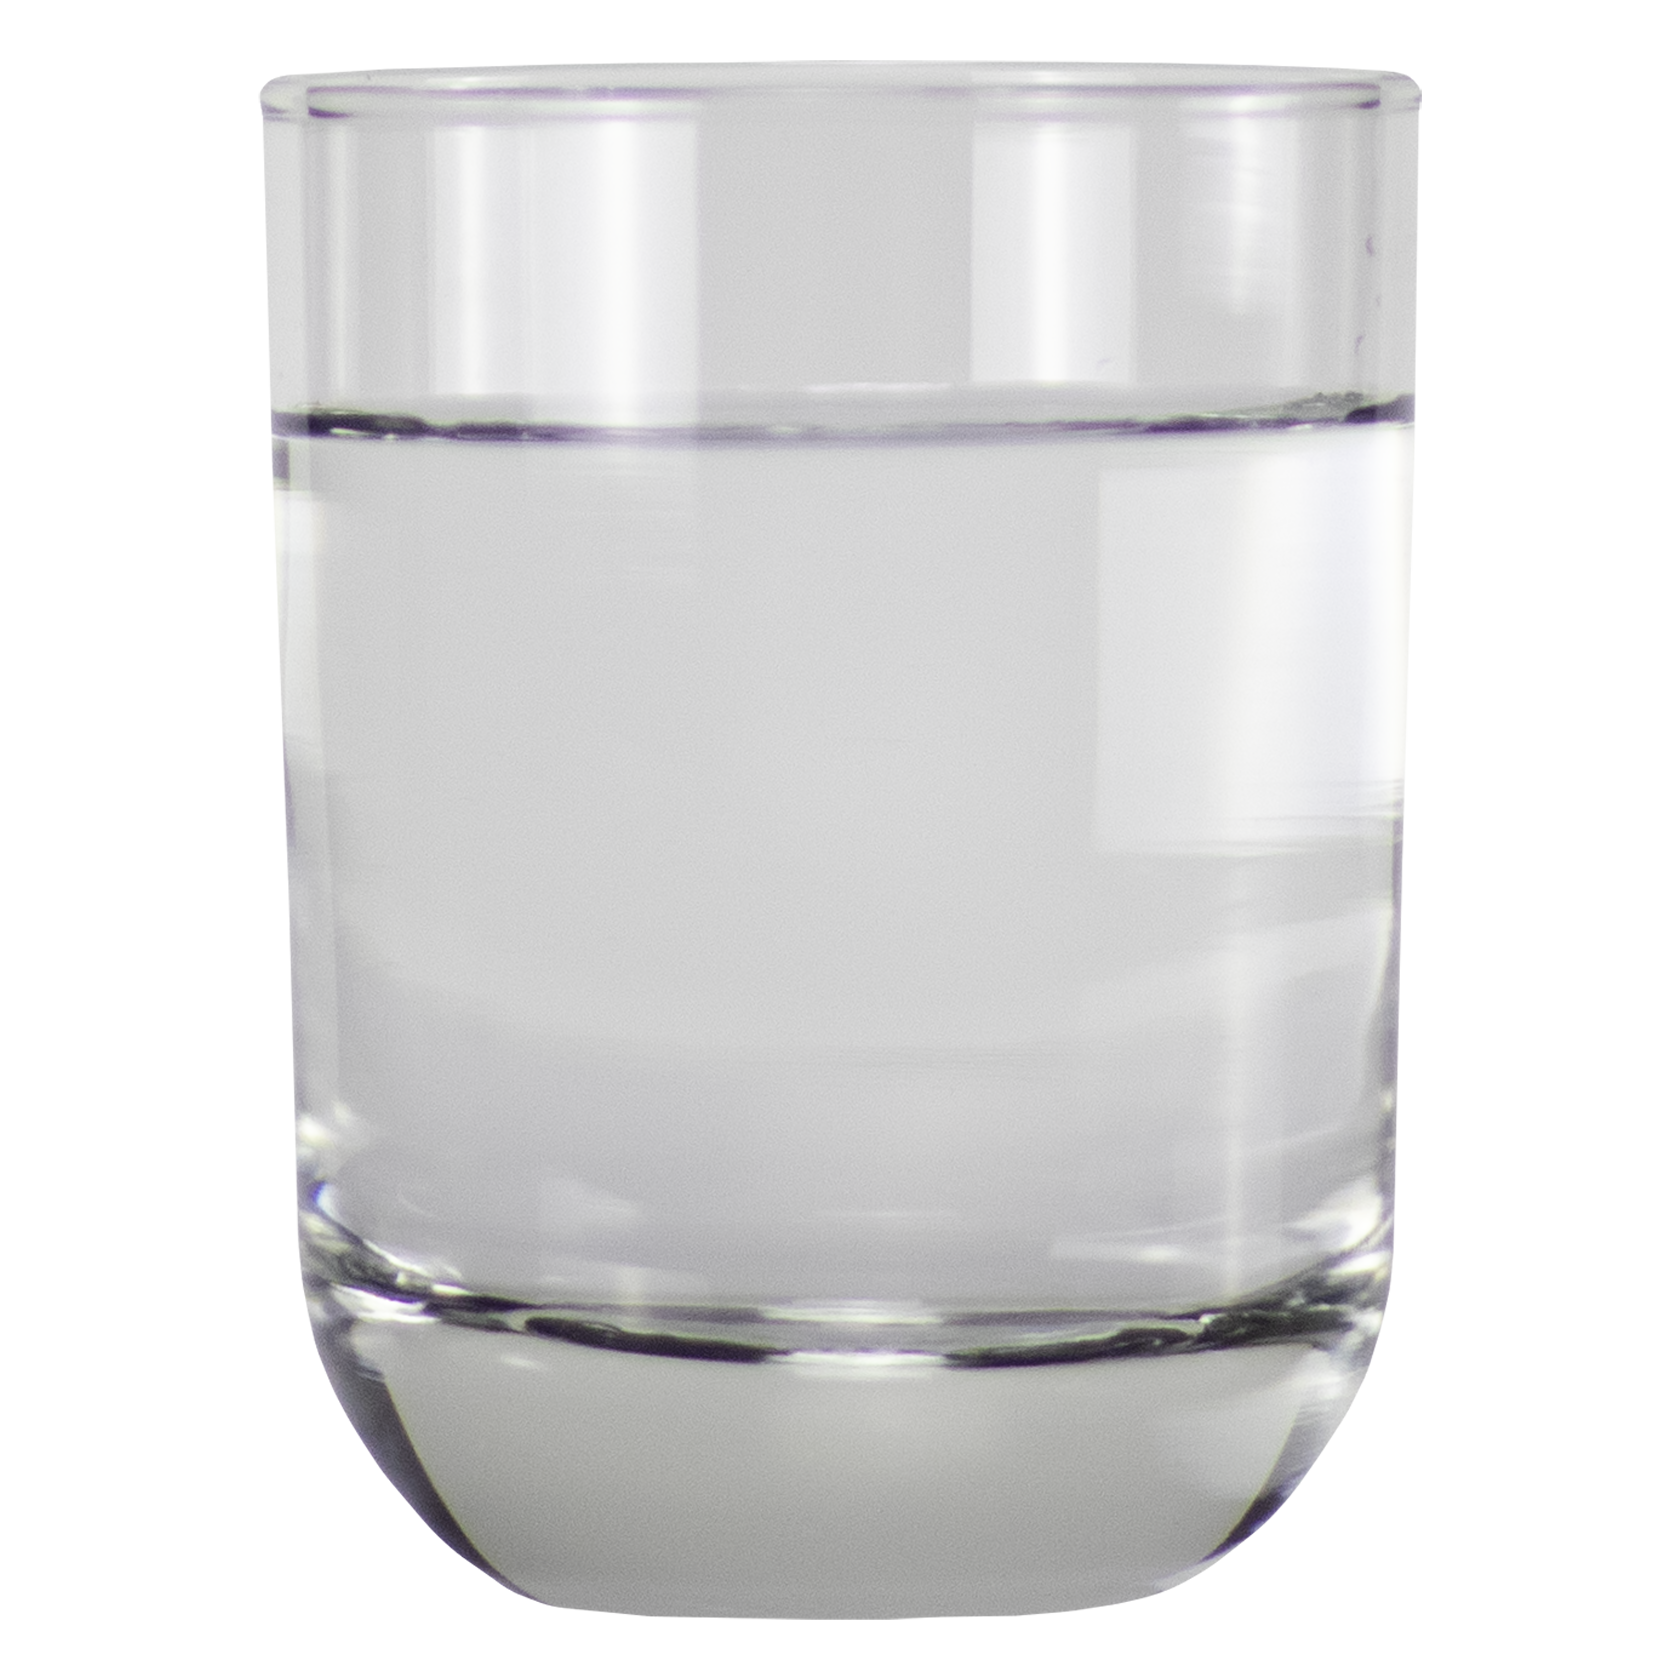
Filtered Water
1000mL
-

Your Favorite Mug
-
Spoon


Let's Brew It
Watch our full brew guide, or scroll down for a step-by-step breakdown.

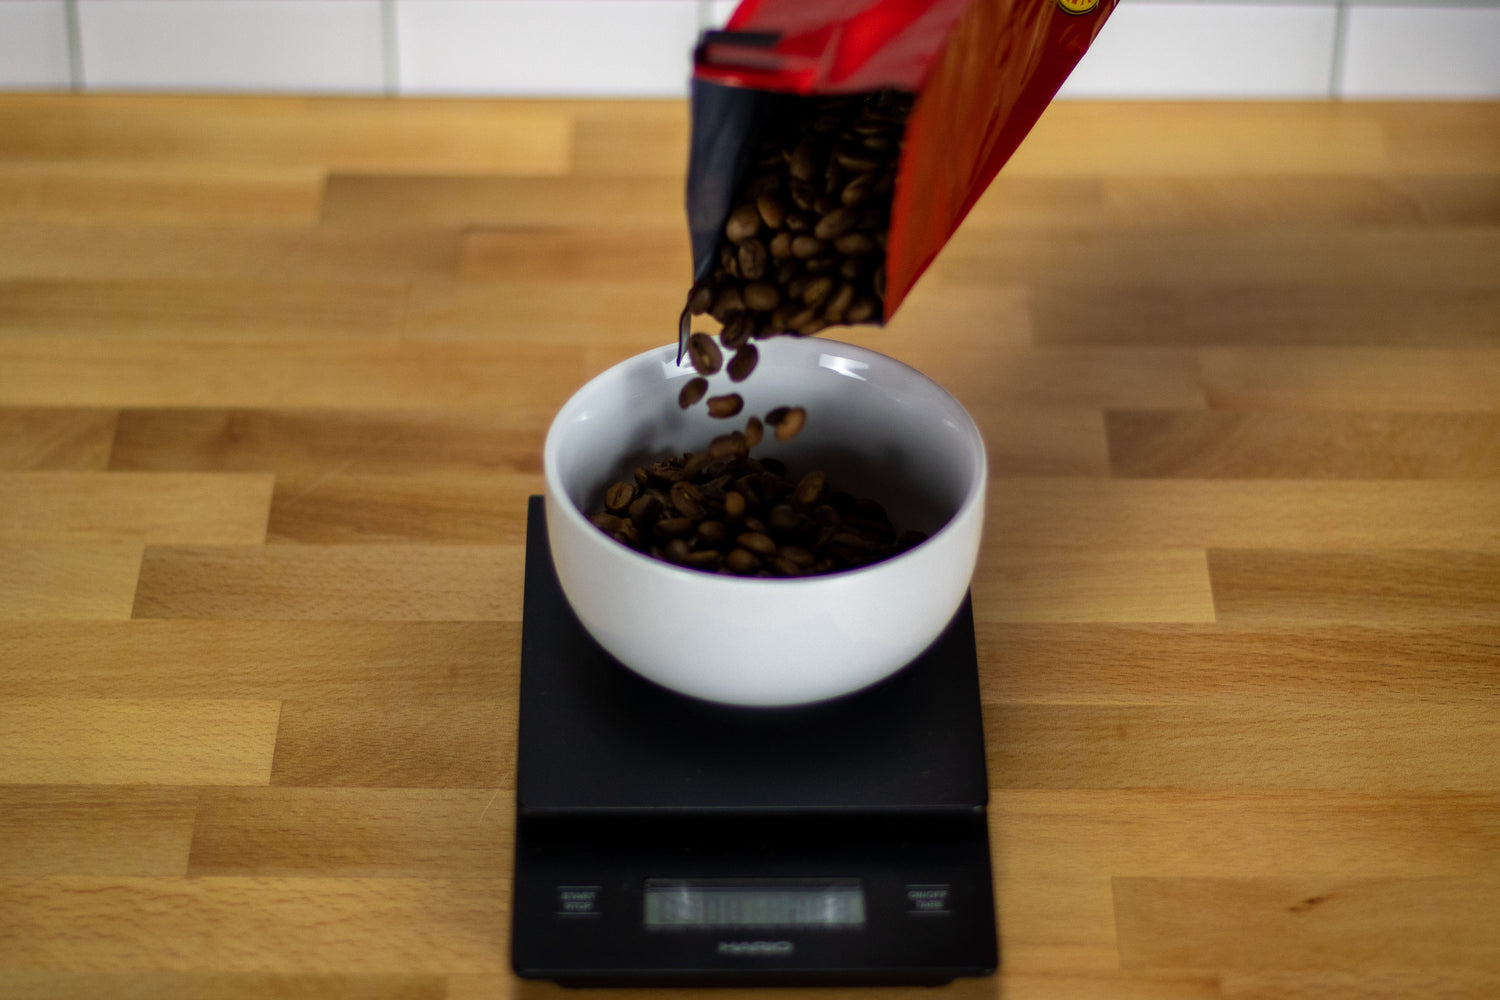
Step 1: Weigh Coffee
For brewing a French press, we will be using a ratio of 1 part coffee to 14 parts water (1:14). This means for an 8 cup press, we’ll need 54g of coffee and 750mL of water.
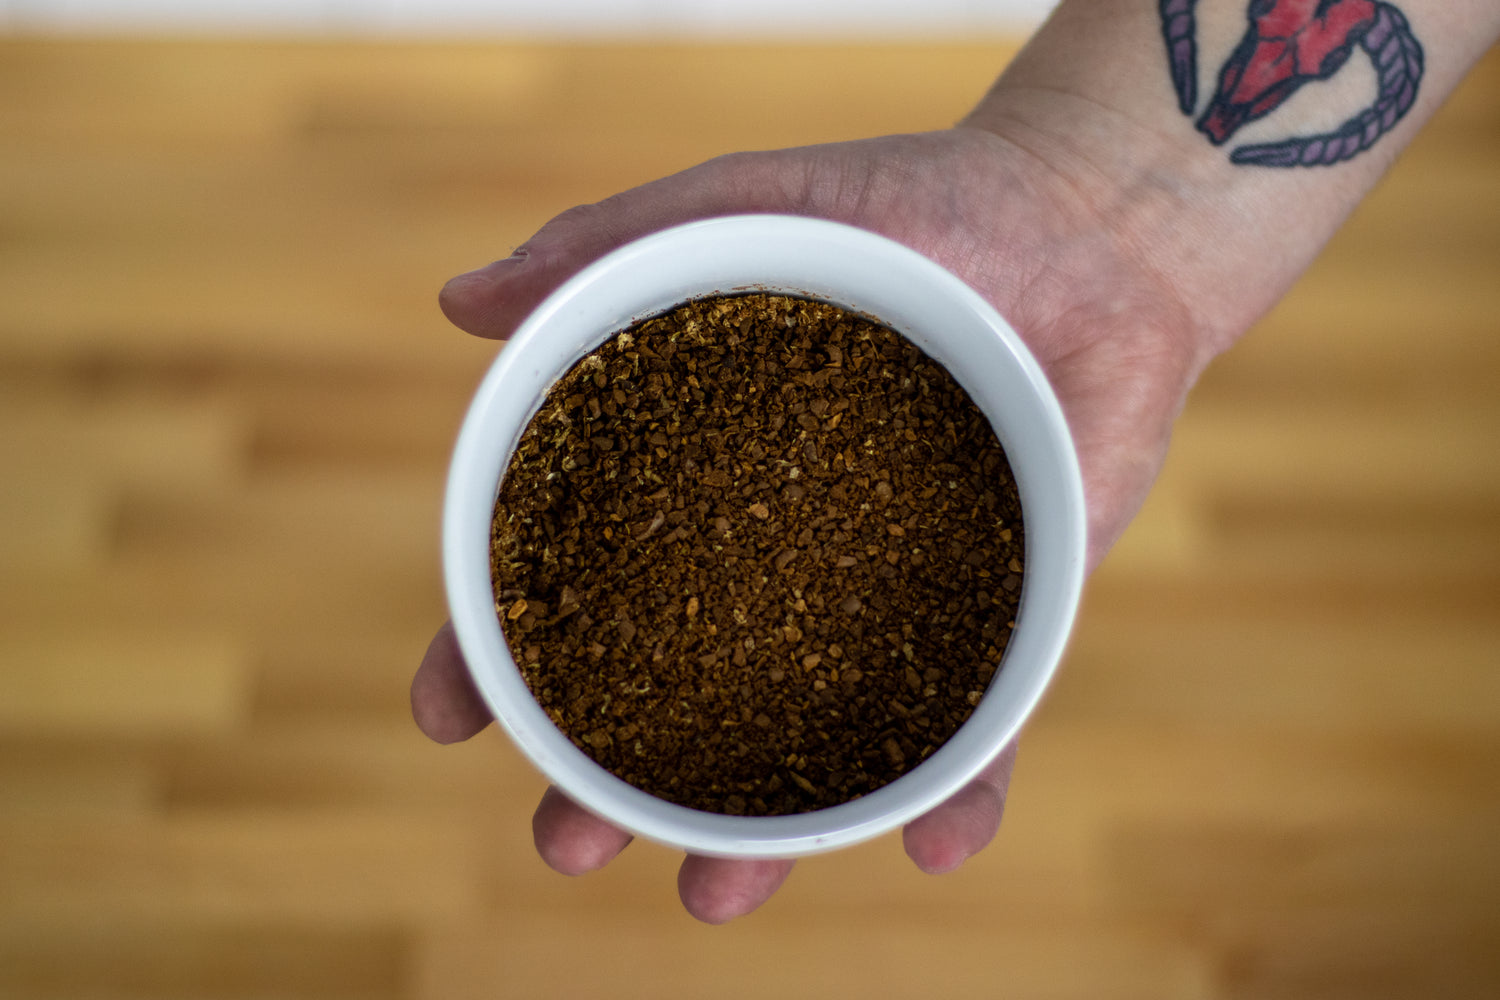
Step 2: Grind Coffee
Because French presses don’t use paper filters, you want to grind your coffee more coarse than for drip brewing. Your ground coffee should look approximately like sea salt.
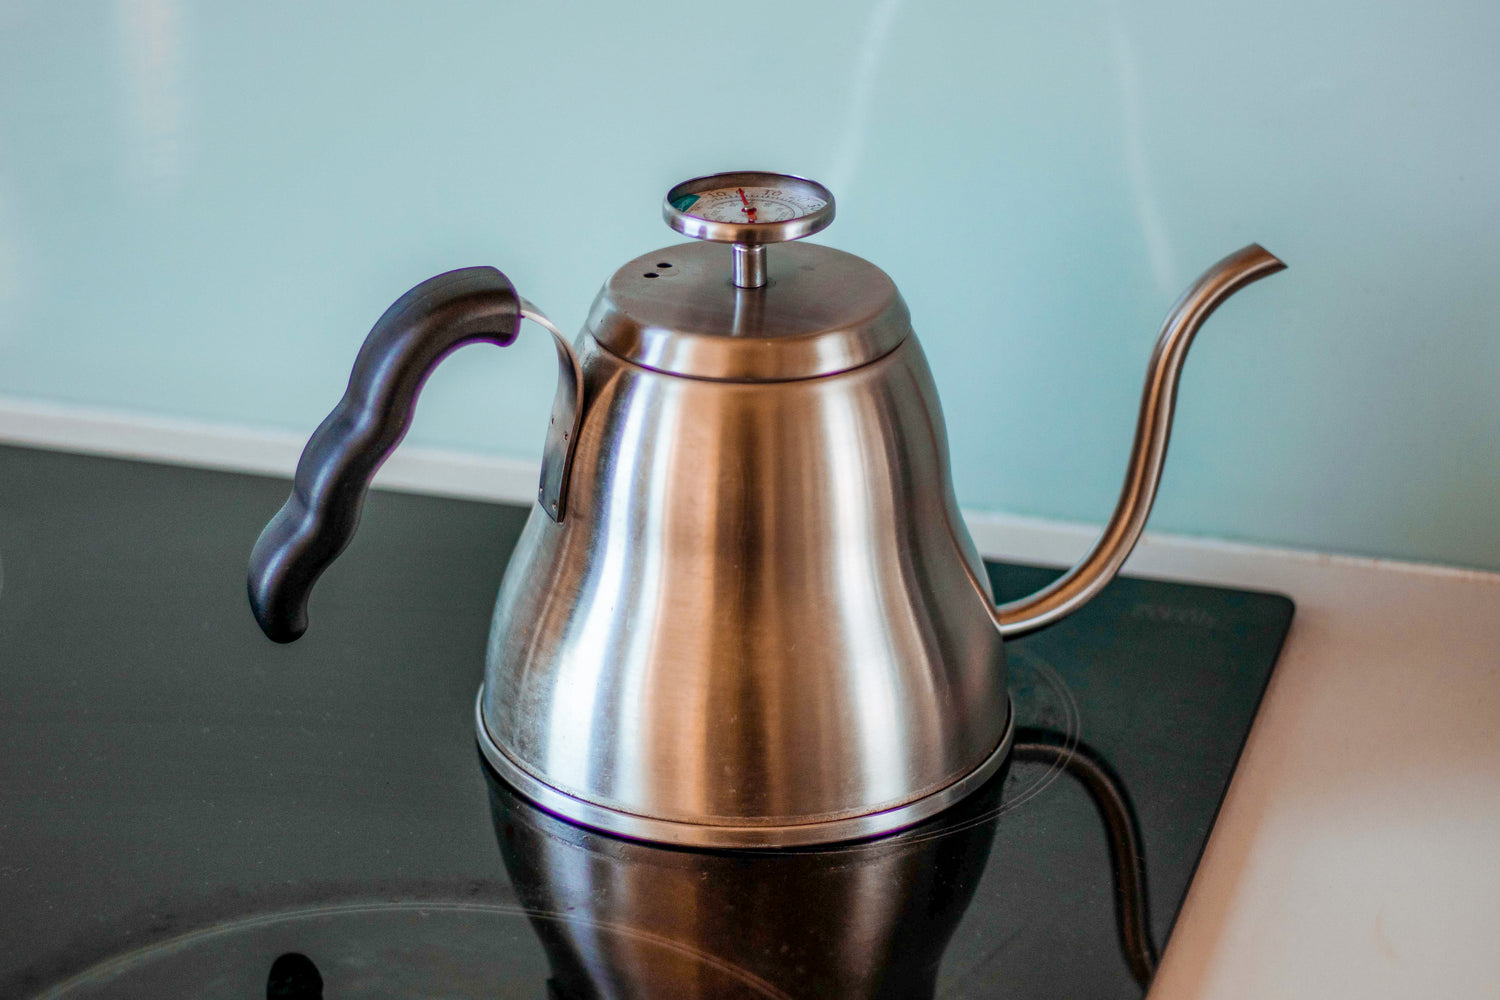
Step 3: Boil Water
Fill your kettle with cold, filtered water (about 1000mL) and heat it to a boil.
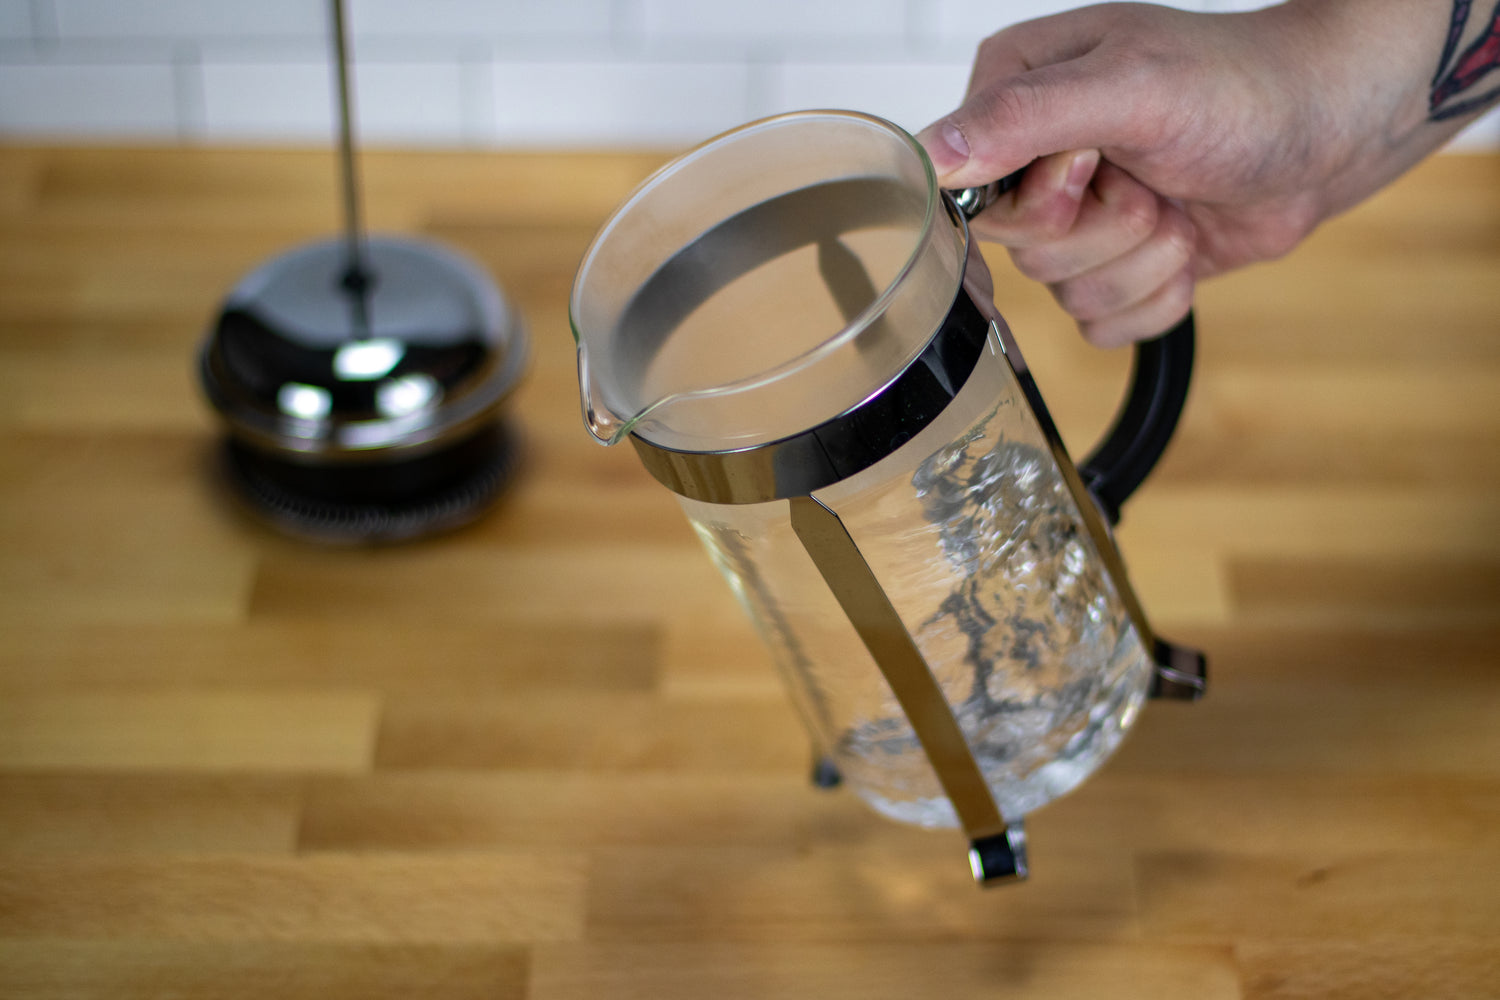
Step 4: Rinse Press
Once your water is boiling, take your kettle off the heat and pour some water into your French press. Rinsing your French press before brewing preheats the press, which allows your brewing water to stay a more consistent temperature. If the hot water you are using to brew coffee hits cold glass it will transfer heat to the brewer instead of into the ground coffee, which can result in uneven extraction of flavors from the coffee. Swirl the hot water around your press, and then dump the rinse water.
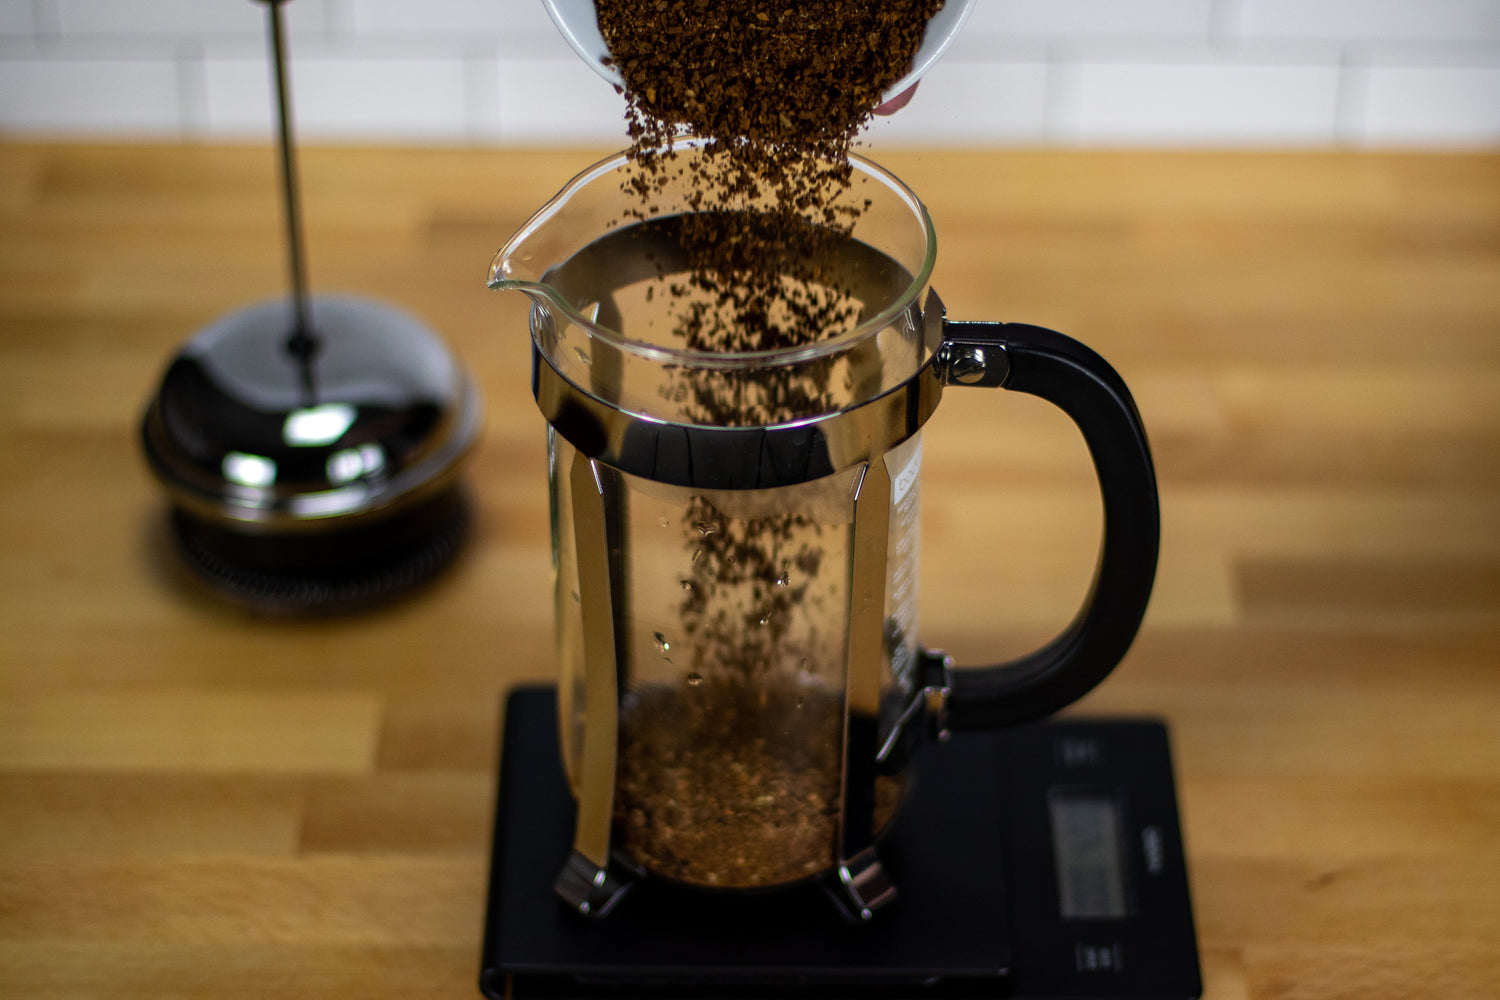
Step 5: Add Coffee
Place your French press on the scale and tare it. Add your ground coffee to the press, double-checking your coffee weight, and then tare your scale again.
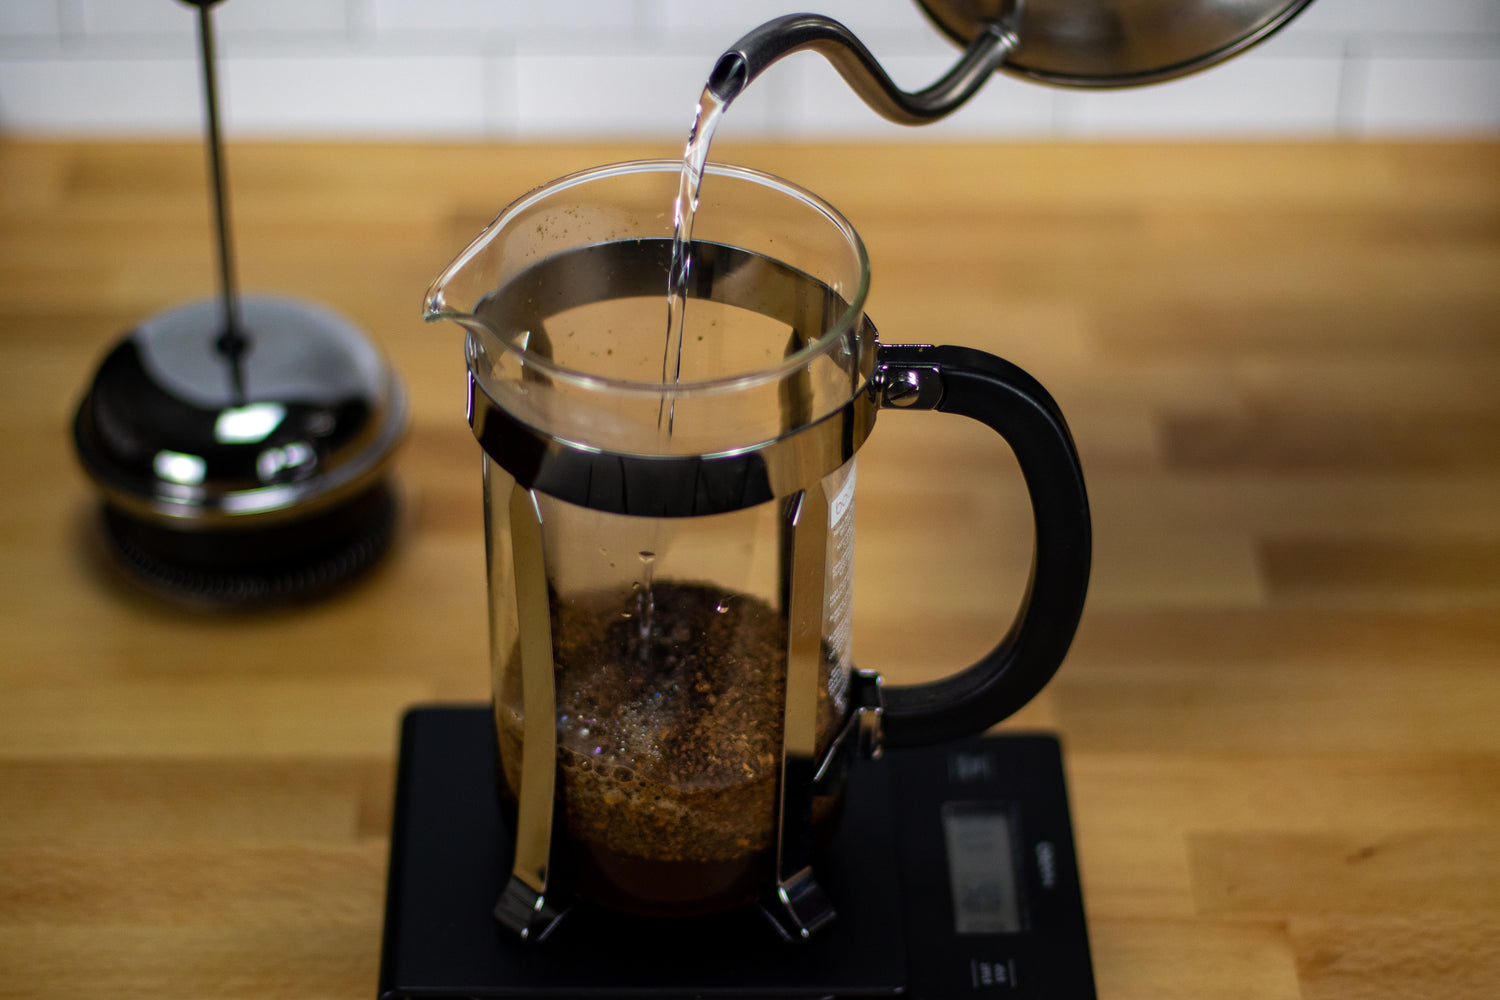
Step 6: Bloom
Start the timer on your scale and pour hot water onto your ground coffee in a slow, spiral motion. Your water should be around 200°F, not boiling; this will allow the most extraction without scorching your ground coffee. You want to pour enough water that you cover the ground coffee in about an inch of water. Make sure that all of your ground coffee is evenly saturated, and allow your coffee to bloom for 30 seconds.
A Note On Blooming
Blooming coffee is an important step in manual brewing, whether you're brewing with a Hario V60, a Chemex, or a French press. While your coffee blooms, you'll notice bubbles coming up and popping across the surface of your ground coffee. This is the carbon dioxide and other gasses that are trapped during roasting being released from the coffee. By allowing your coffee to bloom prior to starting the full brew you make sure that all of the trapped gasses are released instead of ending up in your cup and causing off-flavors, and it also allows the rest of your water to more fully and evenly extract all of the delicious elements from the coffee grounds.
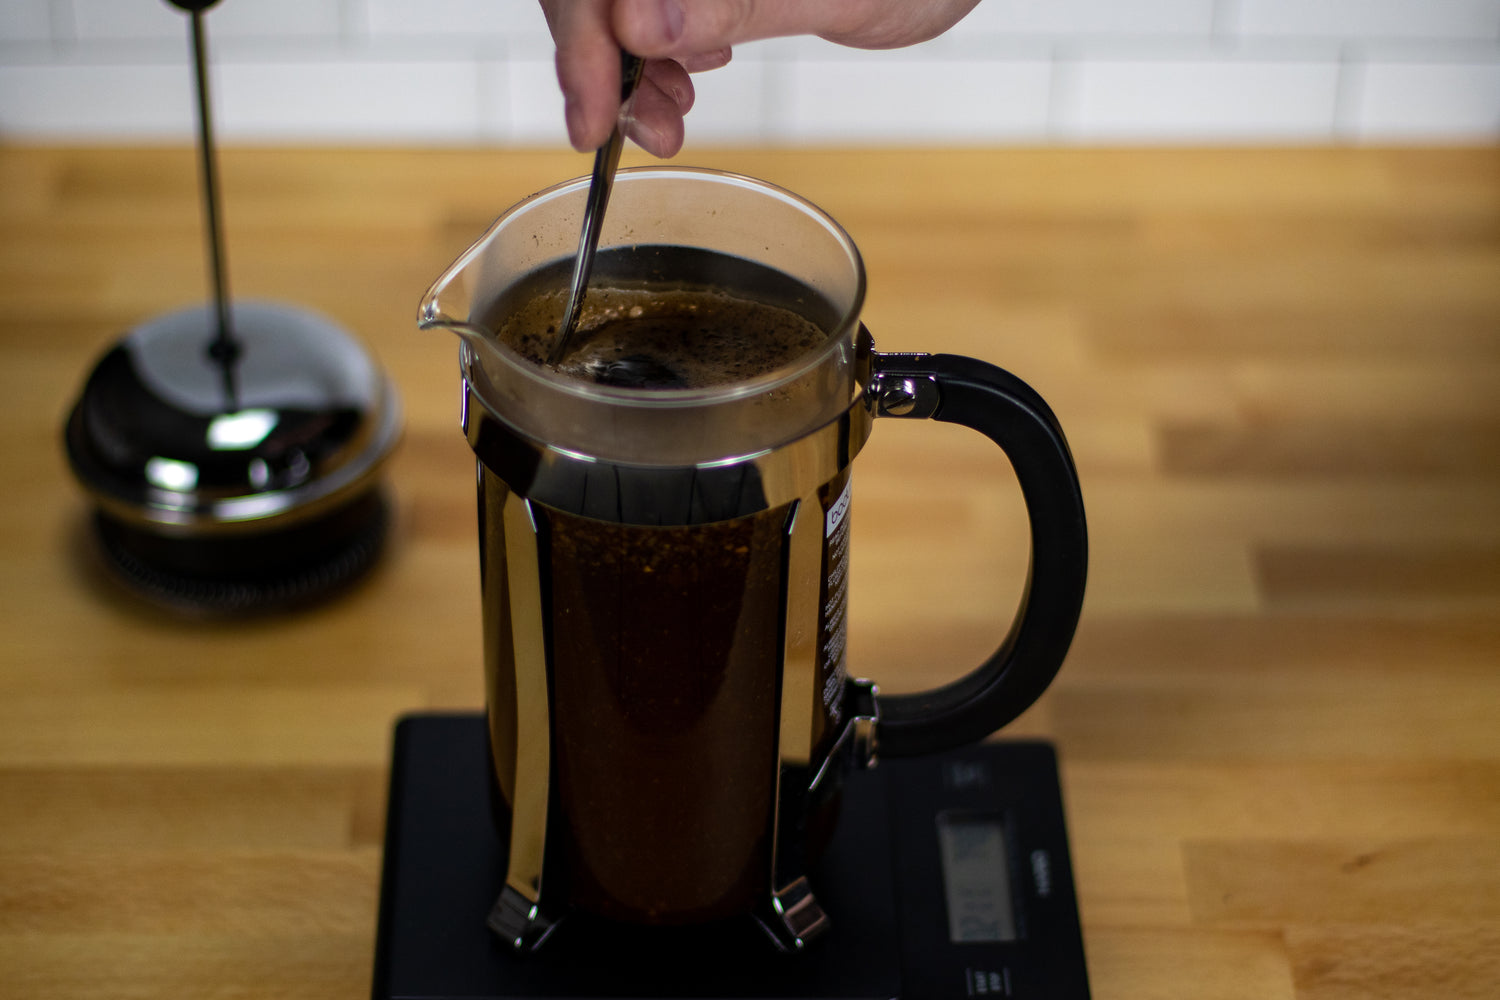
Step 7: Main Pour
After your coffee has bloomed, pour more hot water (again, around 200°F) in spiral motions, ensuring that you keep all of your coffee grounds evenly saturated. You want to pour your water in a way that it breaks through the layer of ground coffee and mixes the grounds into the water. Add water until your total weight is 750g. Once you have added all of your water, take your spoon and gently stir your coffee grounds. This helps ensure even extraction by making sure that all of your coffee is integrated into the water, but don’t stir too hard or you can cause the coffee to release bittering agents.
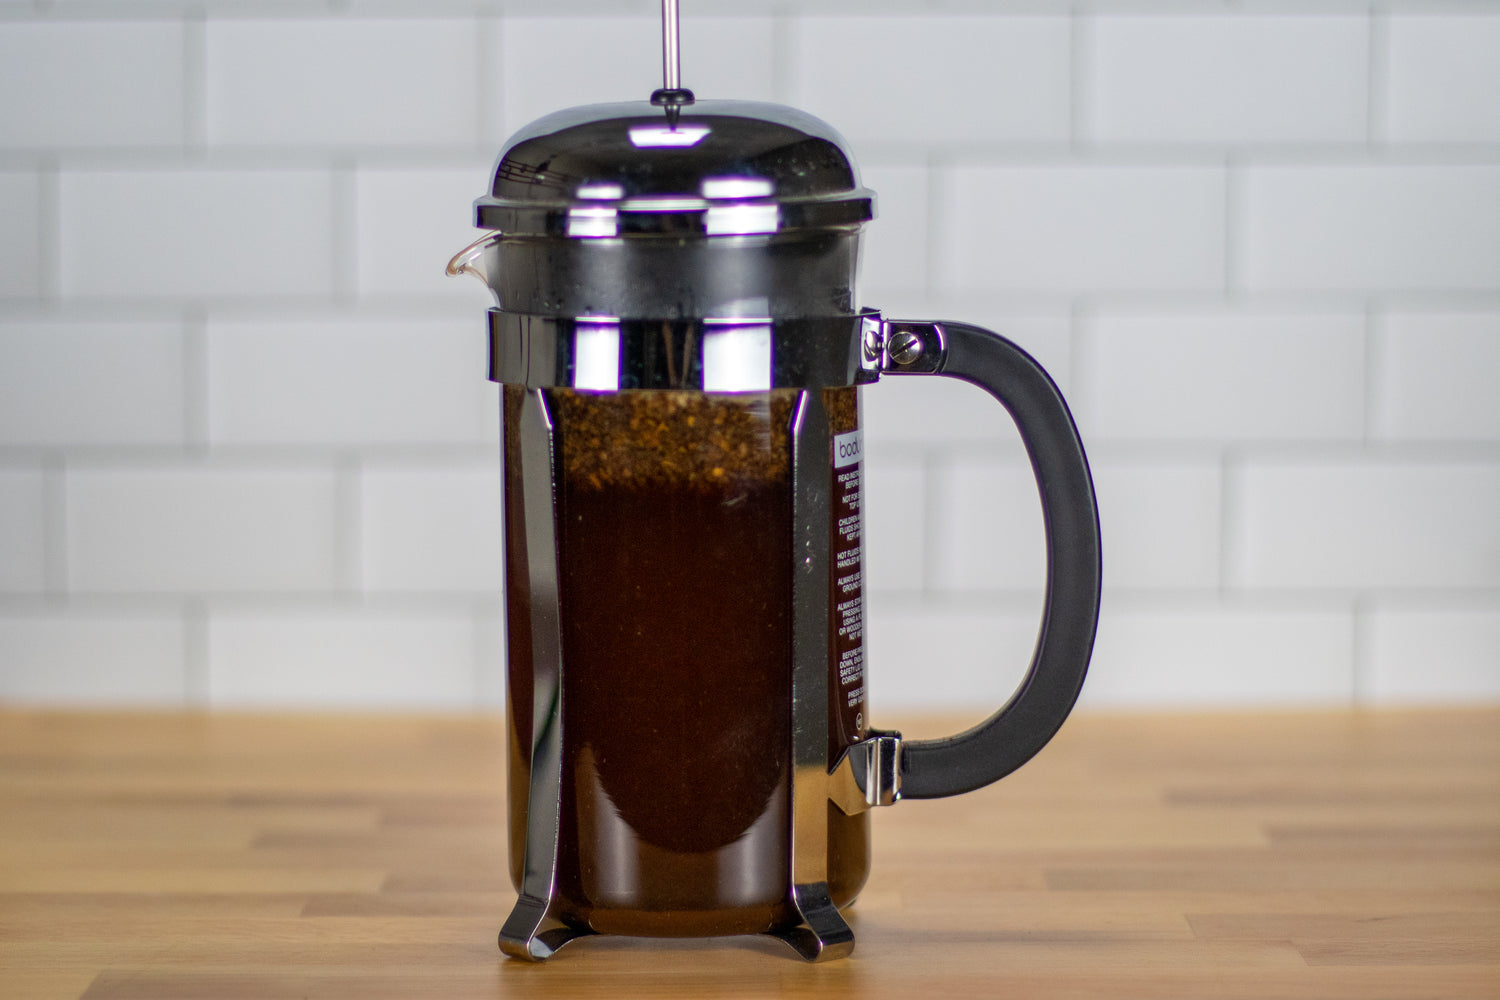
Step 8: Let Brew
Now comes the hard part - waiting! Allow your coffee to brew for 4 minutes. Depending on your preference, you can brew with the lid on or with the lid off. Brewing with the lid on helps keep the heat inside the press which can help with even extraction and repeatability, but it also means that you’ll probably have to wait longer between the brew finishing and your coffee cooling down enough to drink. Brewing with the lid off lets some of the heat from the brewing coffee escape, but also helps to fill your kitchen with the enticing aroma of coffee! Play with both, and figure out what works best for you.
A Note On Brew Times
By lengthening or shortening your total brew time, you can control how well the coffee is extracted. Brewing for a shorter time might mean that you are under-extracting your coffee, meaning that you aren’t getting the full flavor present in the beans in your final cup. Under-extraction can also result in a slightly more acidic cup of coffee. Brewing longer before pressing can cause over-extraction, creating a more bitter final cup. However, all of these flavors and extractions are subjective and it’s up to you to find what you like best! By playing around with how long you brew before pressing, the coarseness of your ground coffee, and the ratio of coffee to water, you can dial in your brew method until you find the perfect brew for you!
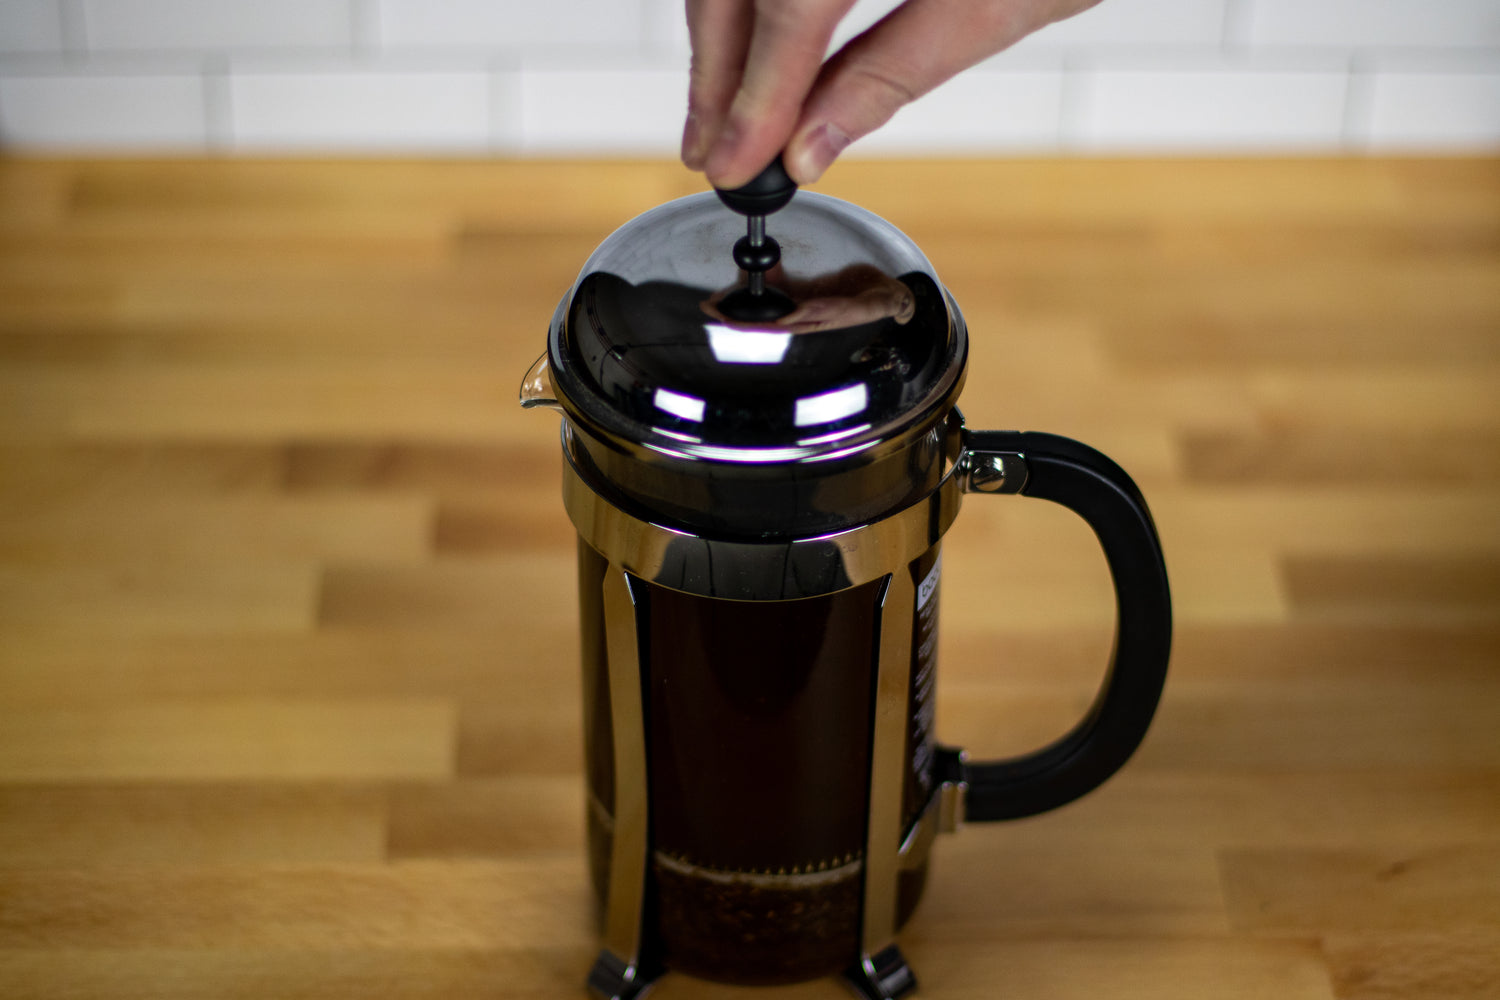
Step 9: Press
When 4 minutes have passed, slowly and gently depress the plunger on your press. You don’t want to press down too hard or fast, because larger coffee particles can escape around the edges of the metal filter if too much force is applied and will end up in your mug.
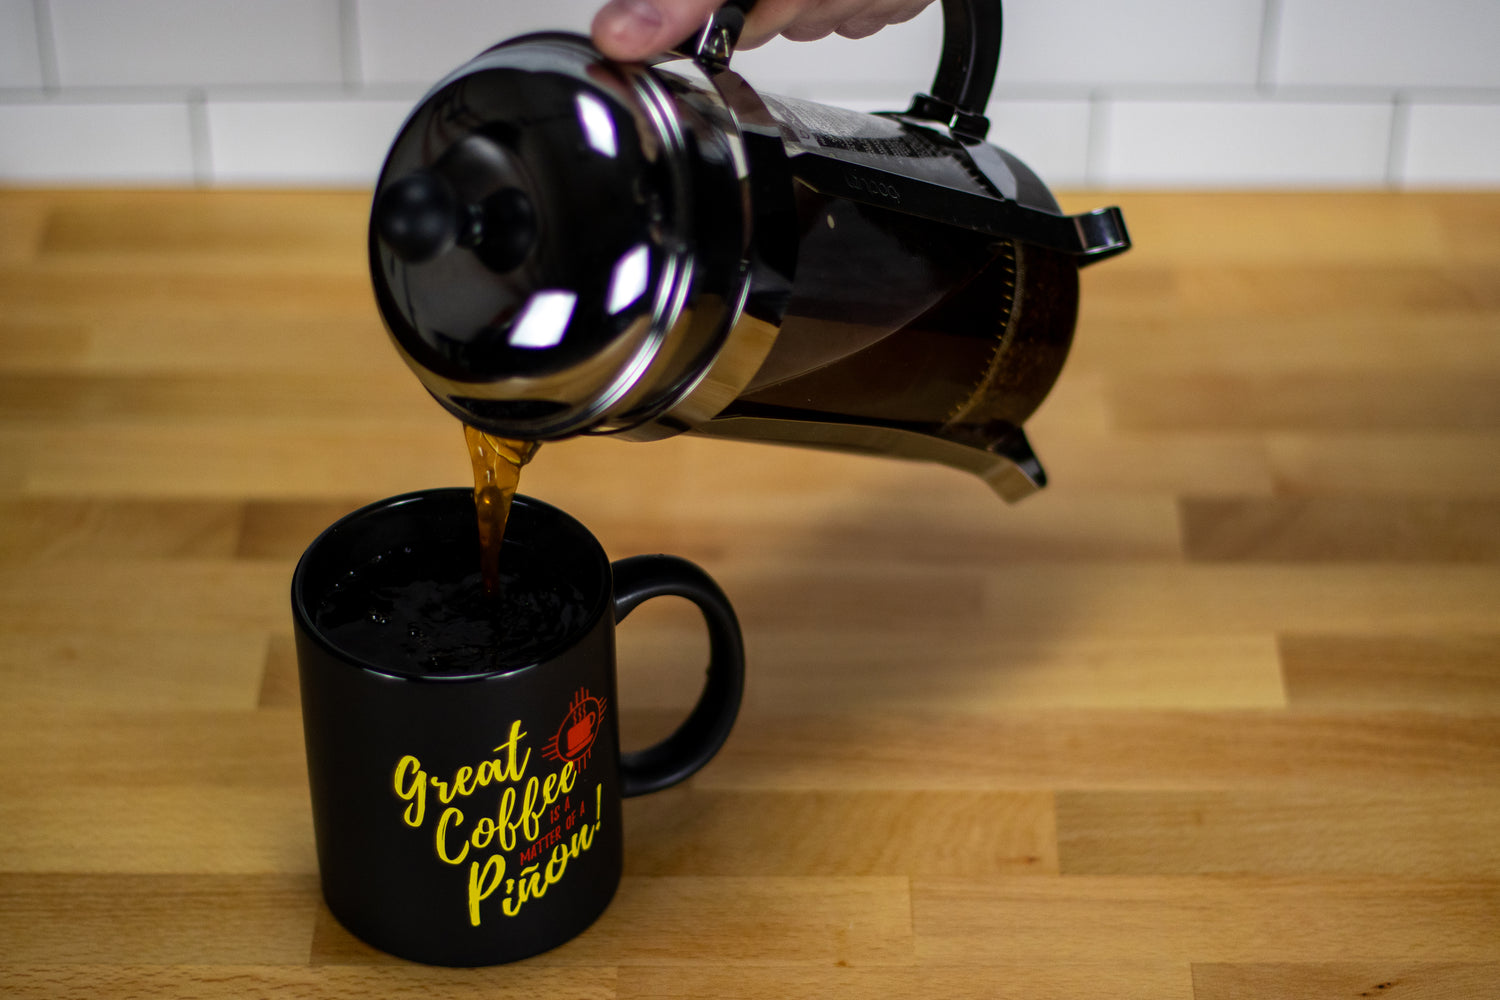
Step 10: Enjoy!
Alright, you did it! Now it’s time to pour yourself a mug, sit back, and sip on some deliciously full-bodied coffee.
A Note On Your Second Mug
If you’re planning on drinking the whole French press right away (within an hour or so), it’s fine to leave the remainder of the finished brew in the press. However, if you aren’t going to drink a second cup until later in the day or you want to save it for tomorrow, it’s better to pour it out of the press into a jar to save. If you leave your brewed coffee in your press, sitting on the coffee grounds, it will continue to brew and create an over-extracted and bitter brew the longer that it sits.
Our Favorite Coffees to Brew with French Press
-
Traditional Piñon
Regular price From $15.00Regular priceUnit price per -
Biscochito
Regular price From $15.00Regular priceUnit price per$0.00Sale price From $15.00 -
Dark Piñon
Regular price From $15.00Regular priceUnit price per -
Mexican Spiced Chocolate
Regular price From $15.00Regular priceUnit price per