Hario V60
Let's Brew It: Hario V60
The Hario V60 can seem like an intimidating way to brew coffee, but we break it down to the basics and take you through the step-by-step process of using this pour over method to brew a delicious cup of coffee.
Let's Brew It
Watch our full brew guide, or scroll down for a step-by-step breakdown.
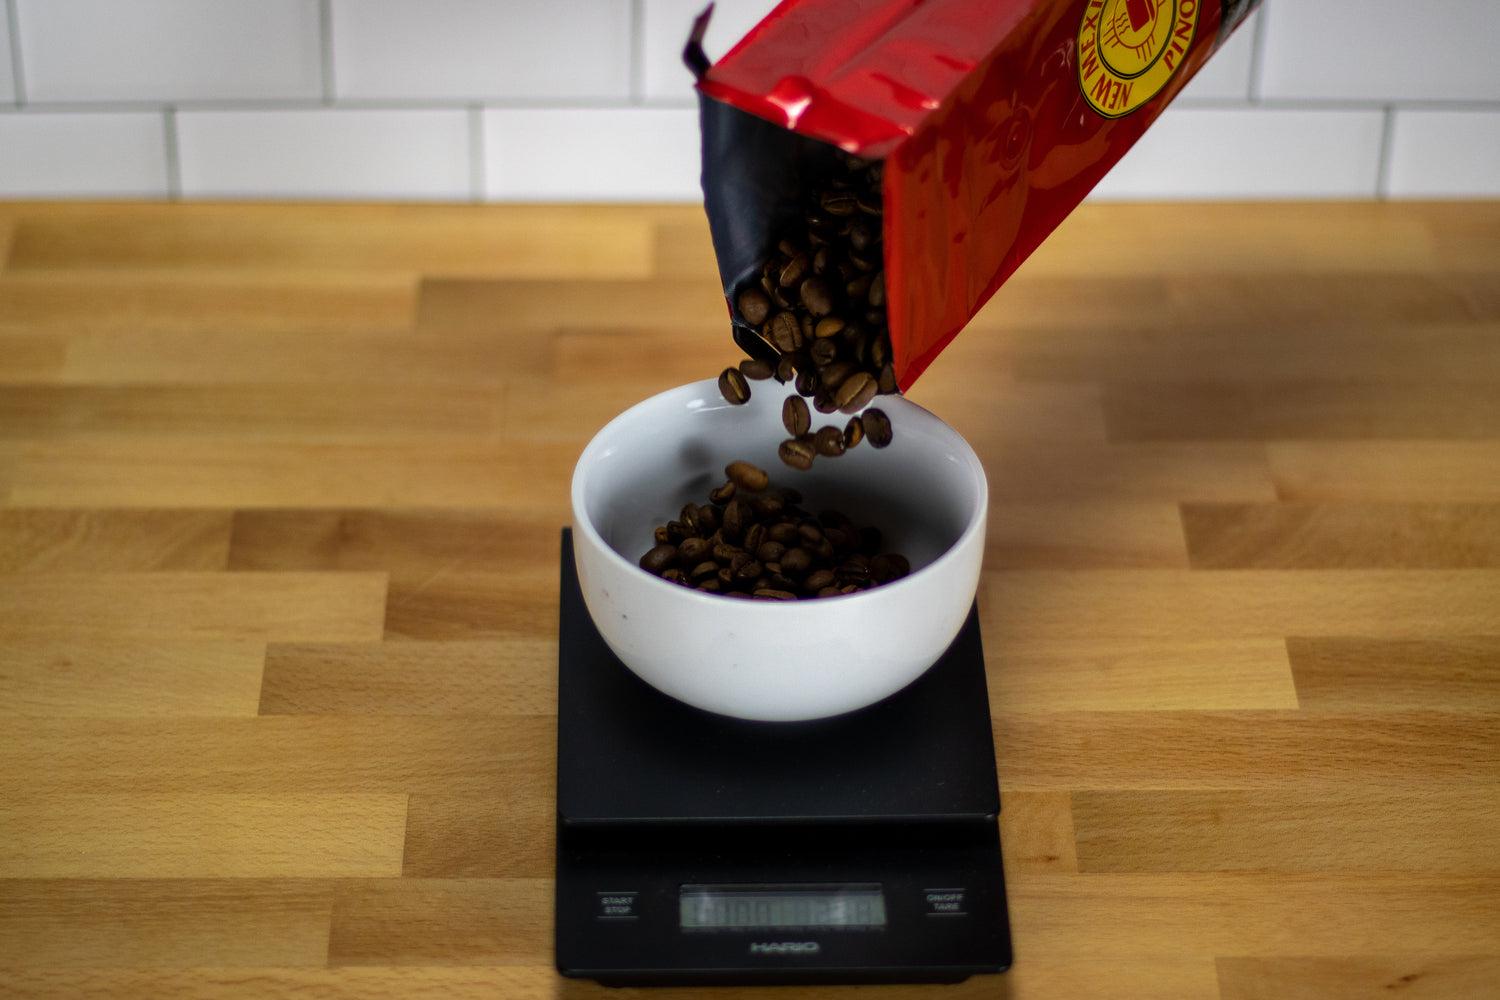
Step 1: Weigh Coffee
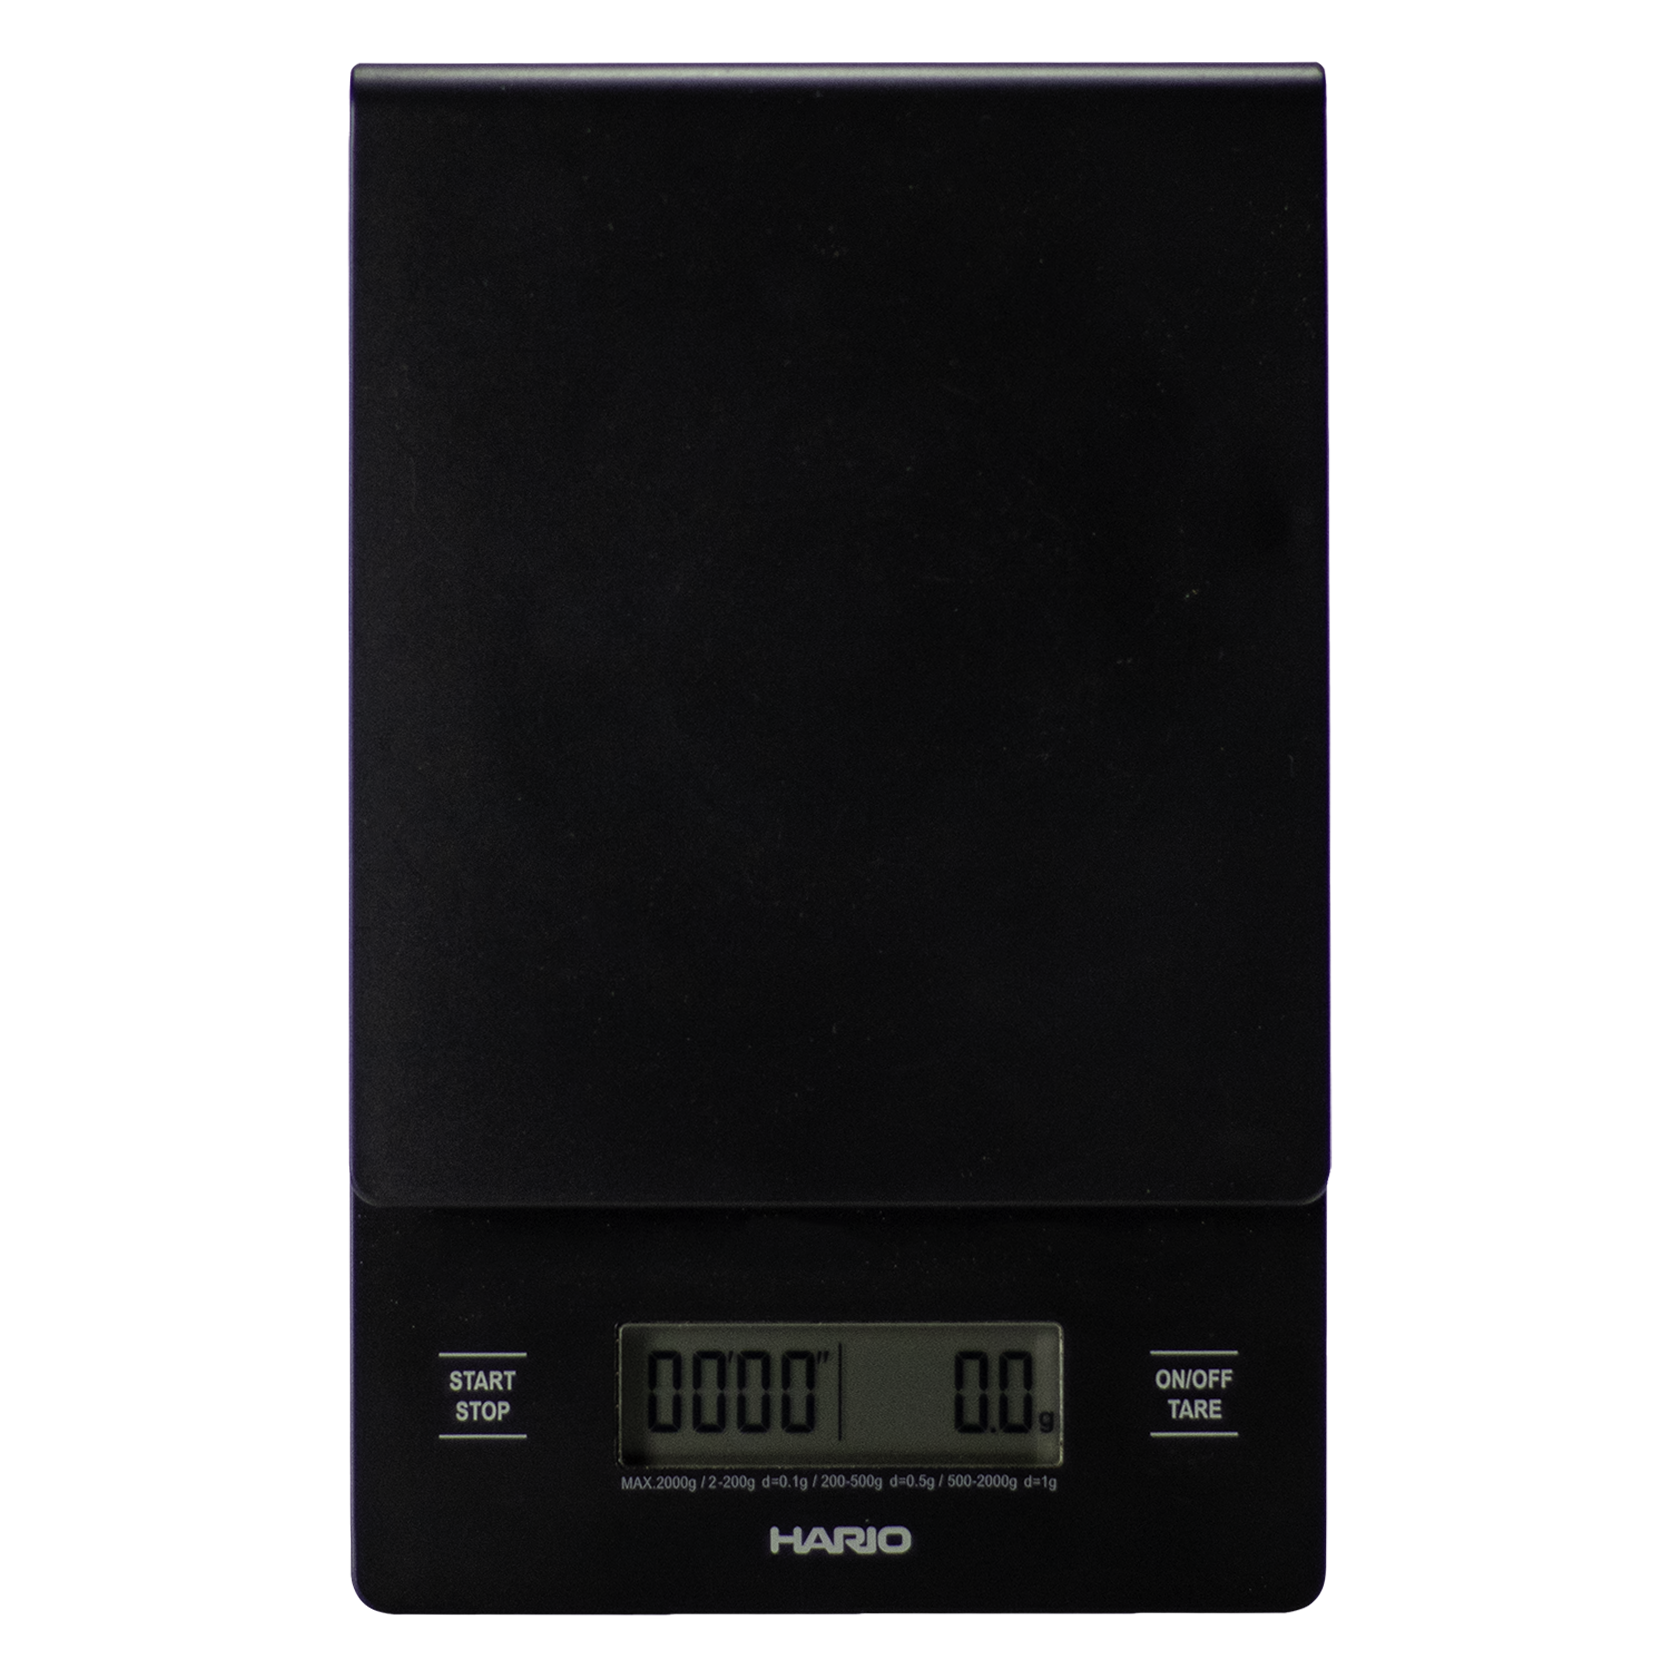
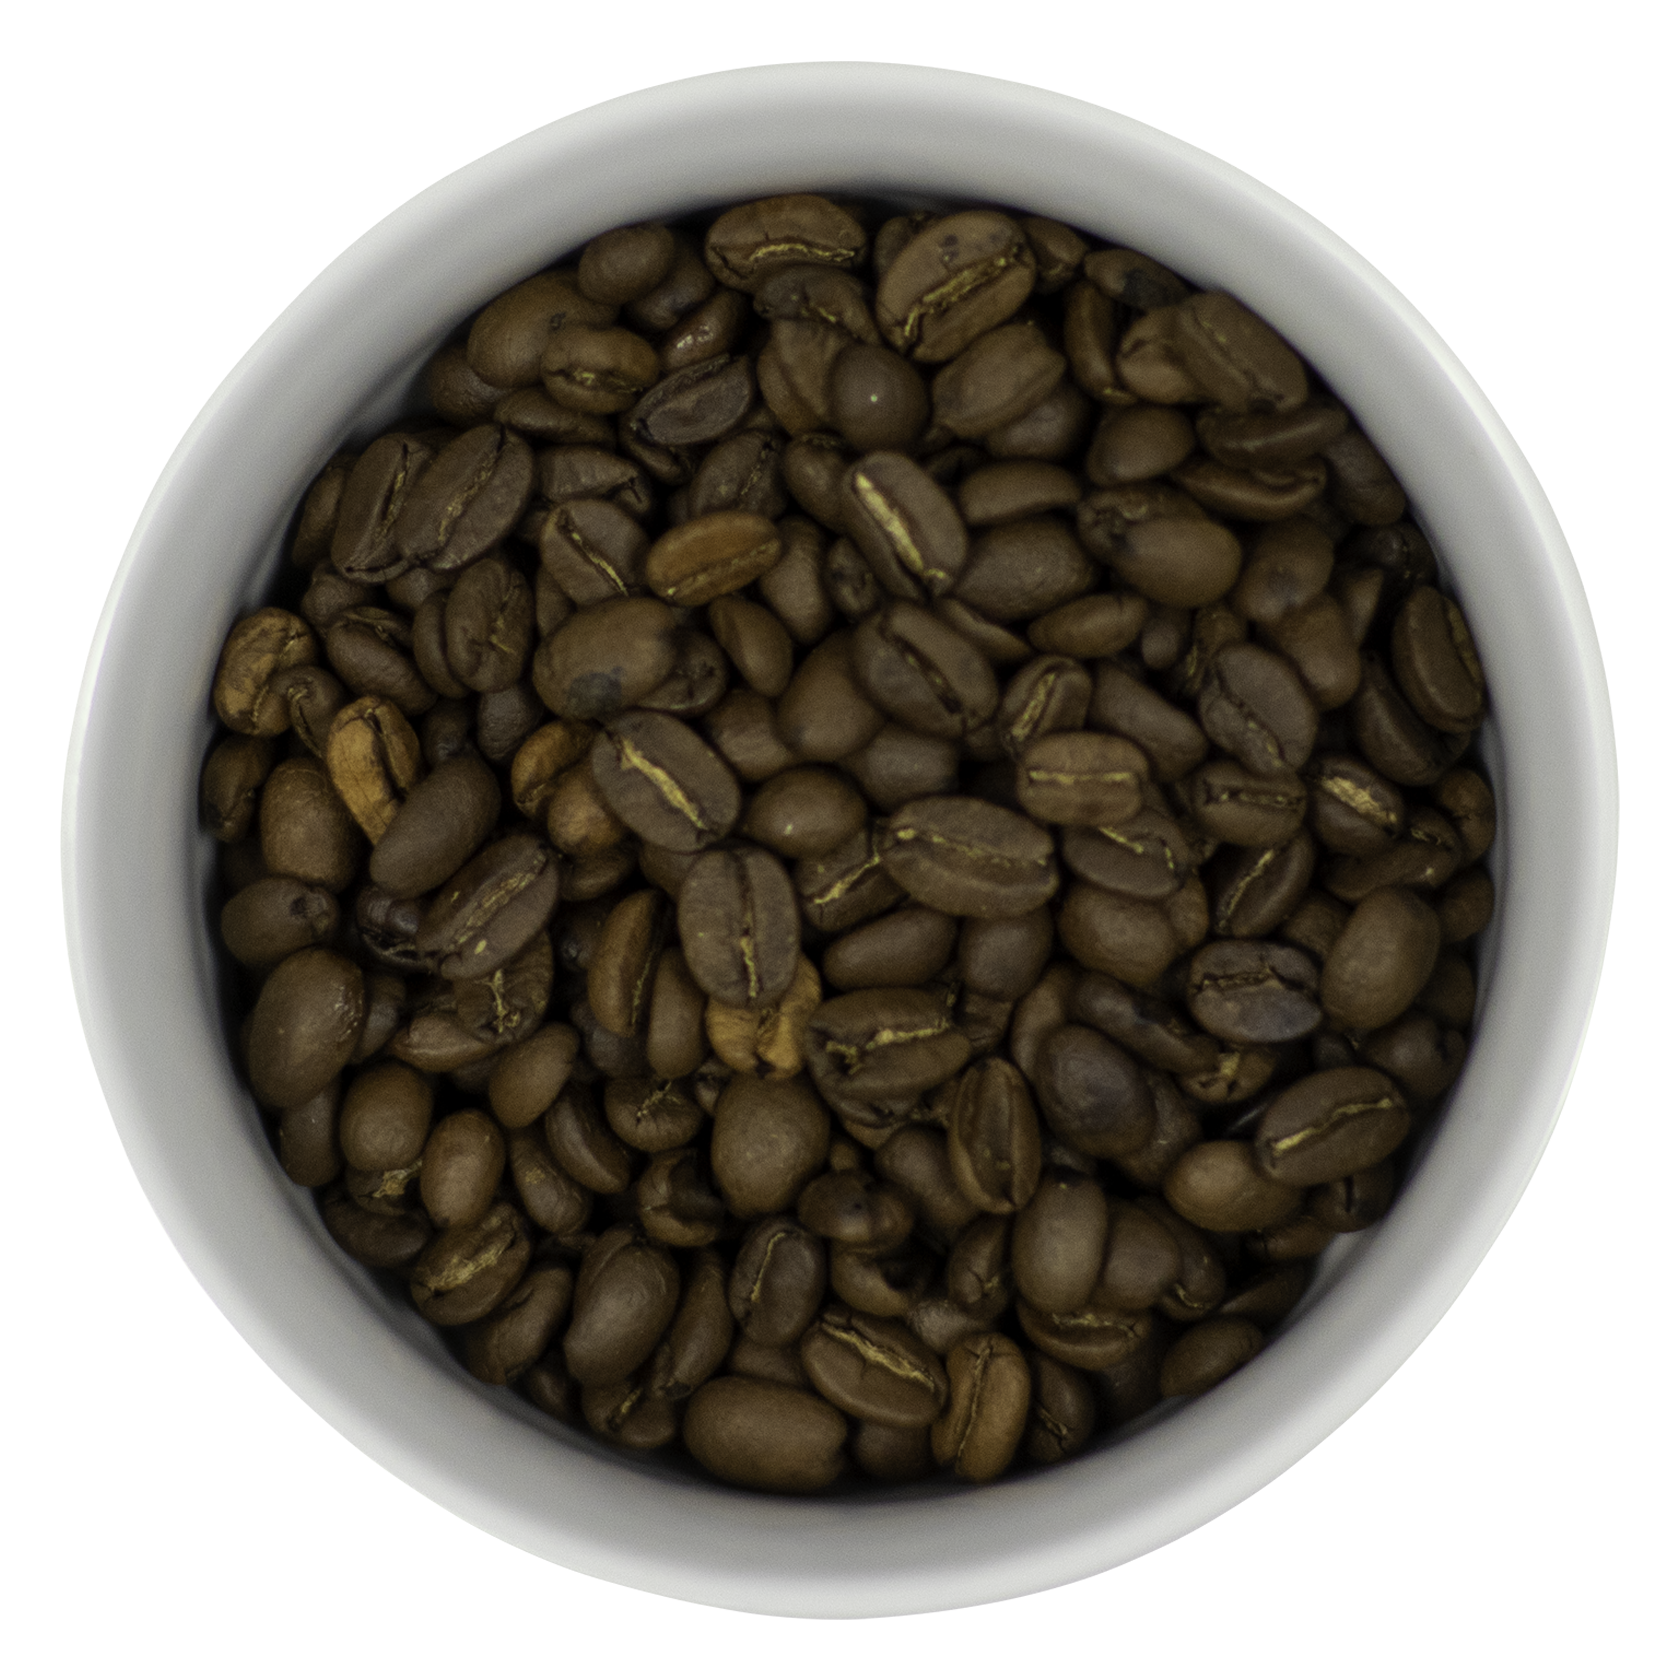
For the Hario V60, we will be using a ratio of 1 part coffee to 17 parts water (1:17). This means for a single mug of coffee, we’ll be using 21g of coffee and 350mL of water.
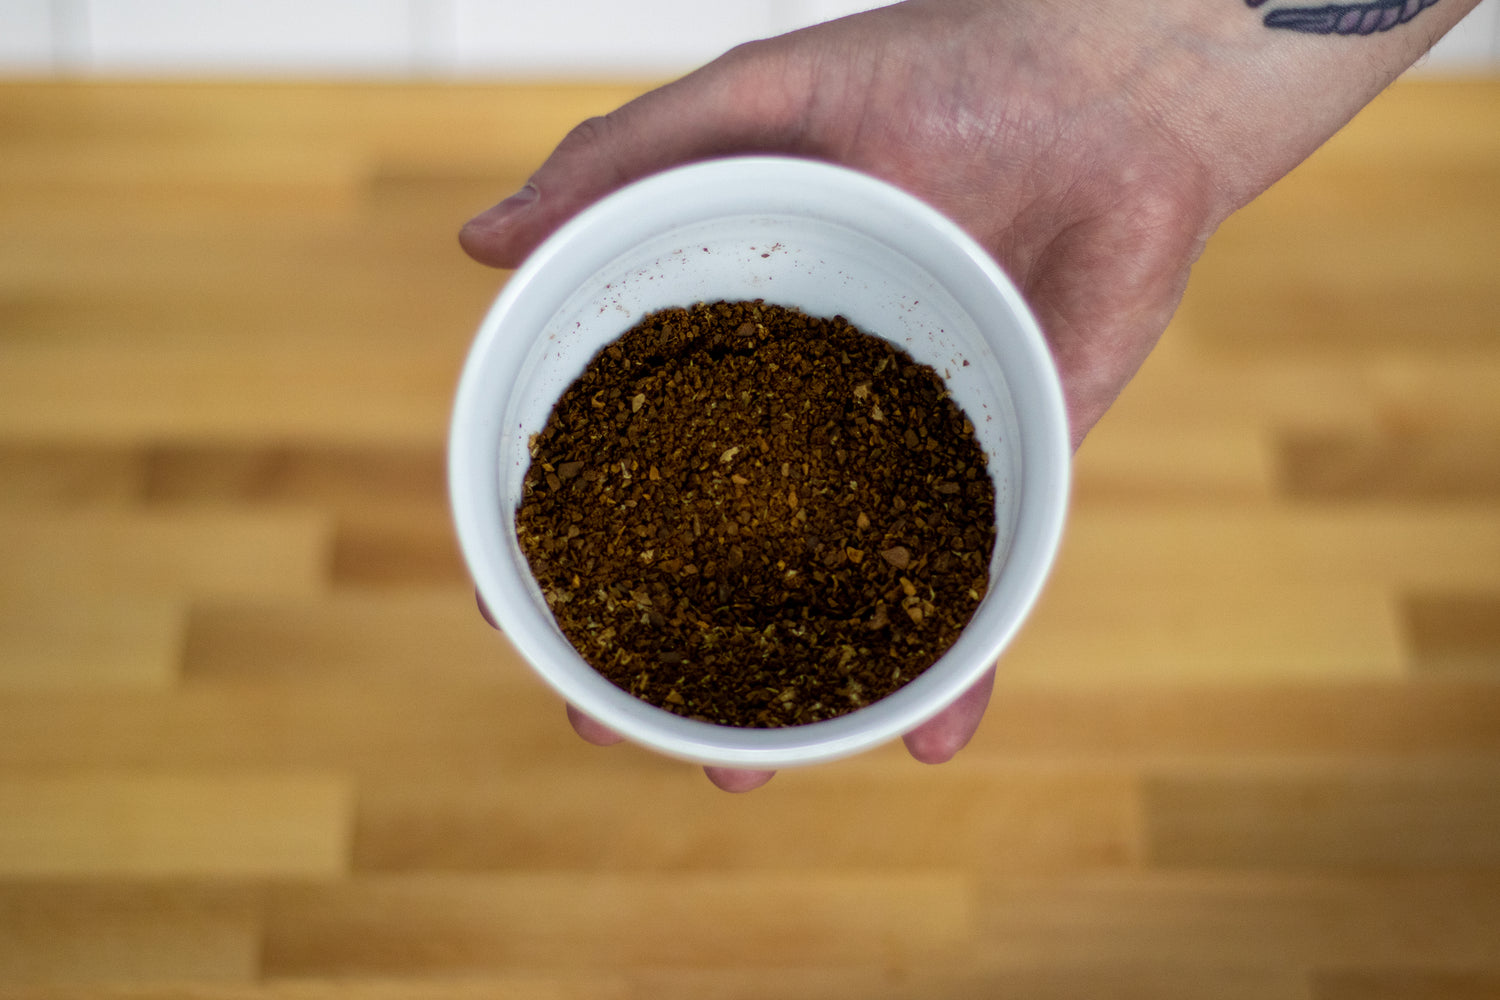
Step 2: Grind Coffee
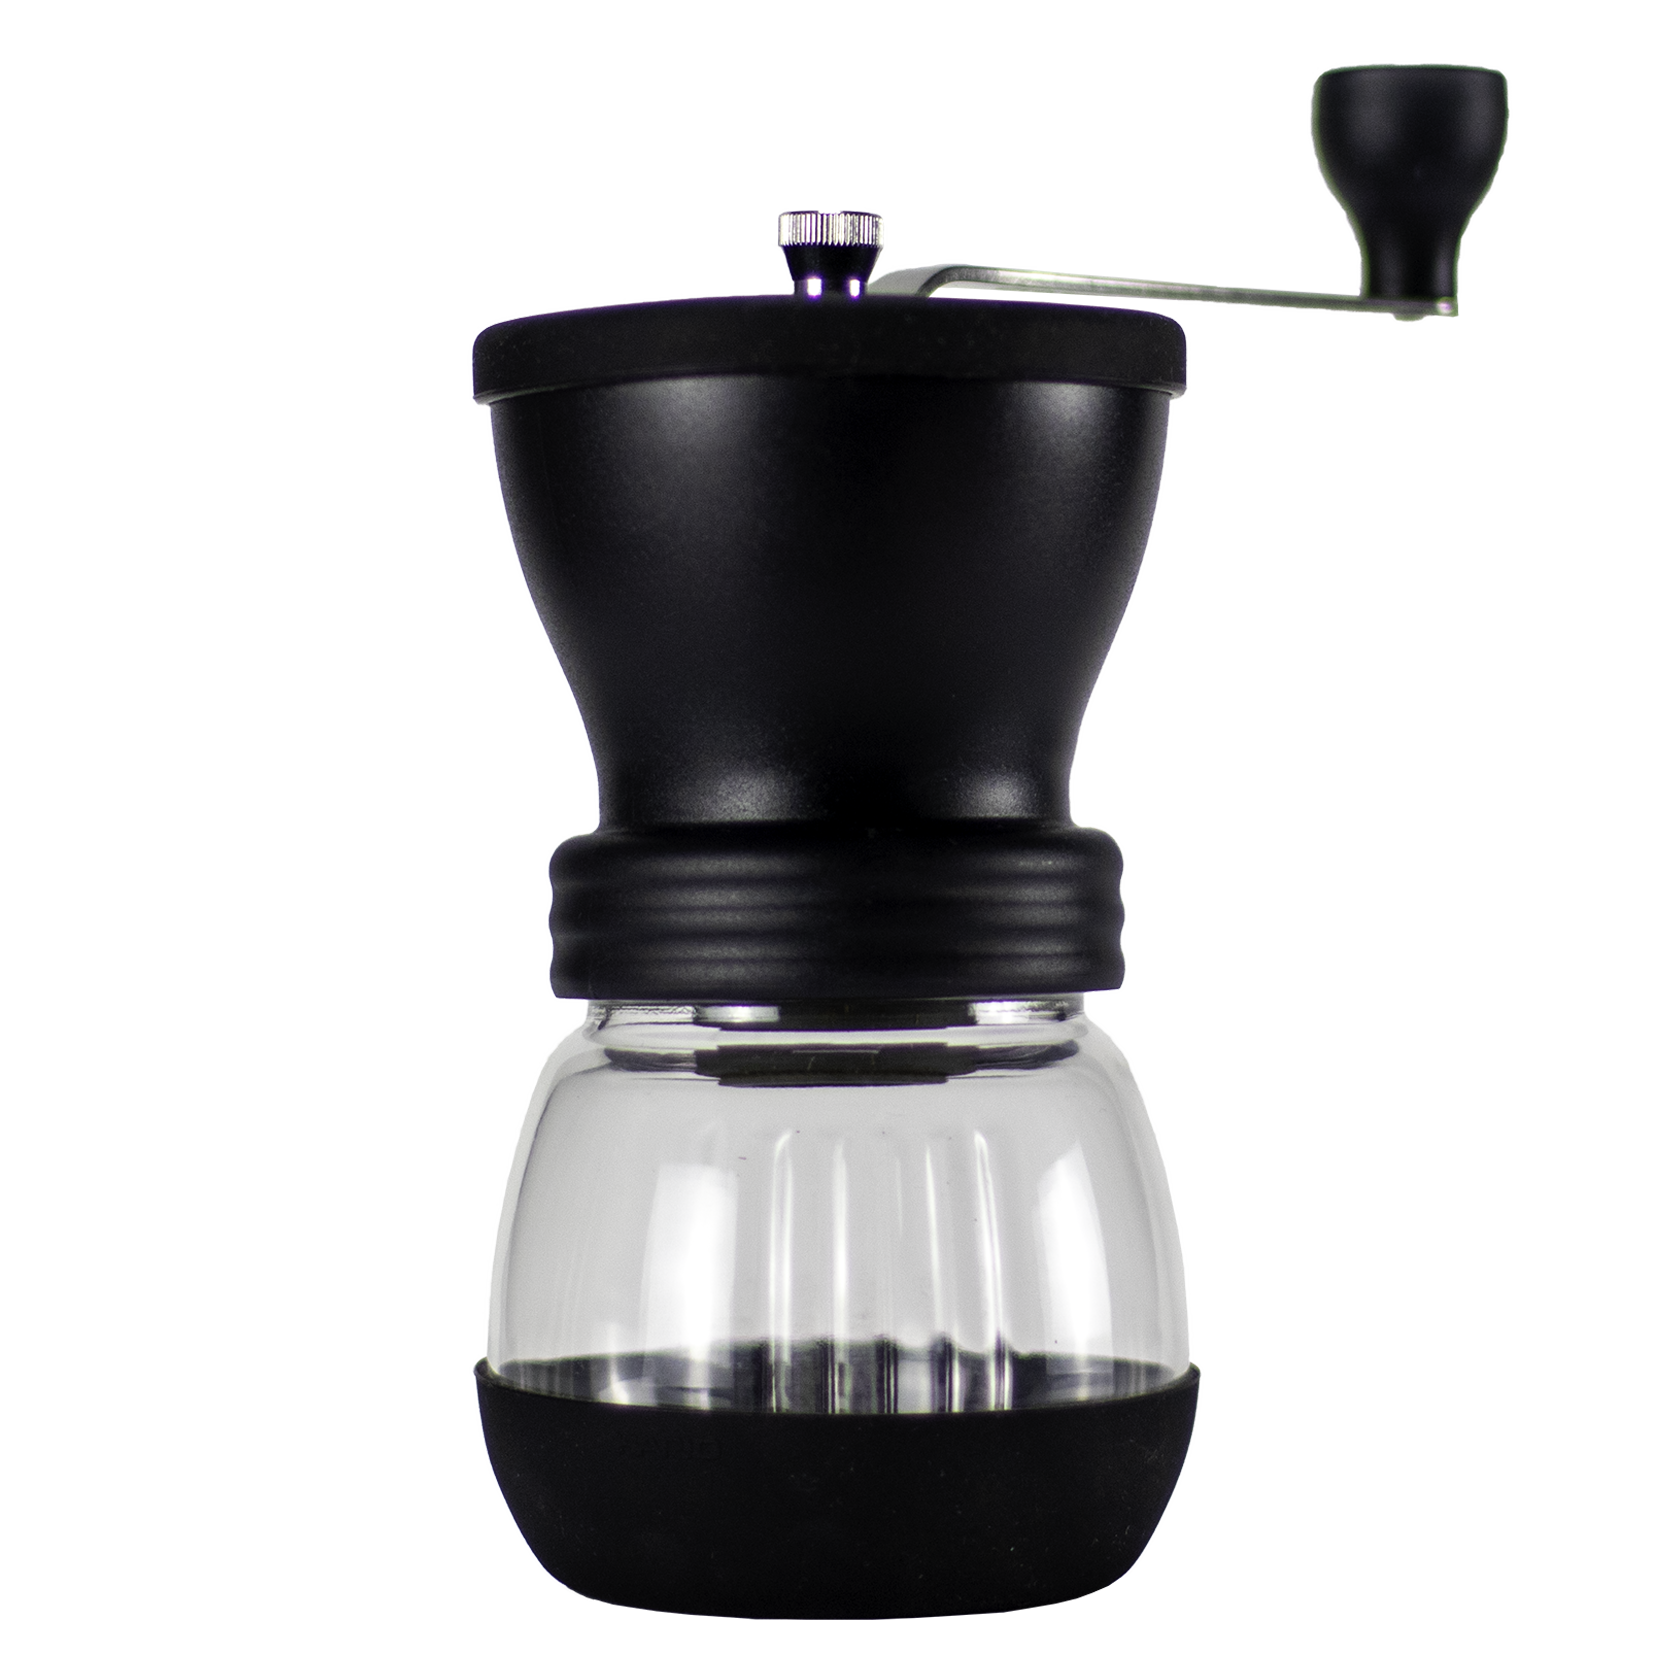
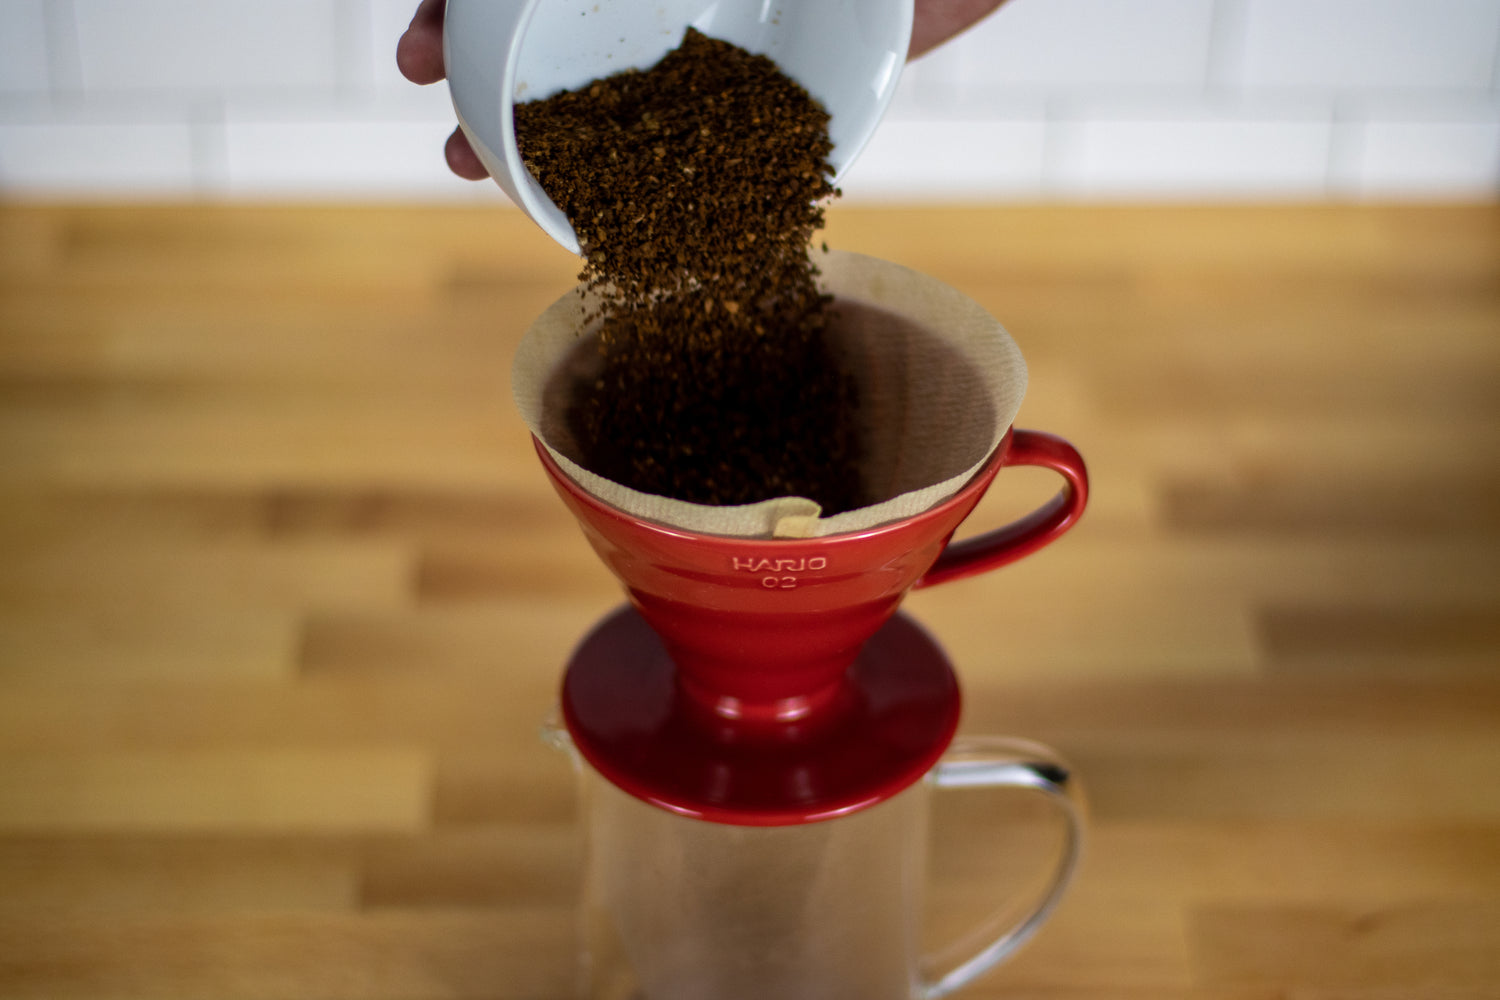
When brewing with a V60, you want to grind your coffee to a medium. Your ground coffee should look more or less like table salt.

Step 3: Prepare Filter
For the best brew, you’ll want to use an unbleached paper filter. Hario filters should be folded along the seam and then opened when you place the filter in the brewer. Place your V60 on top of your mug or coffee vessel of choice.
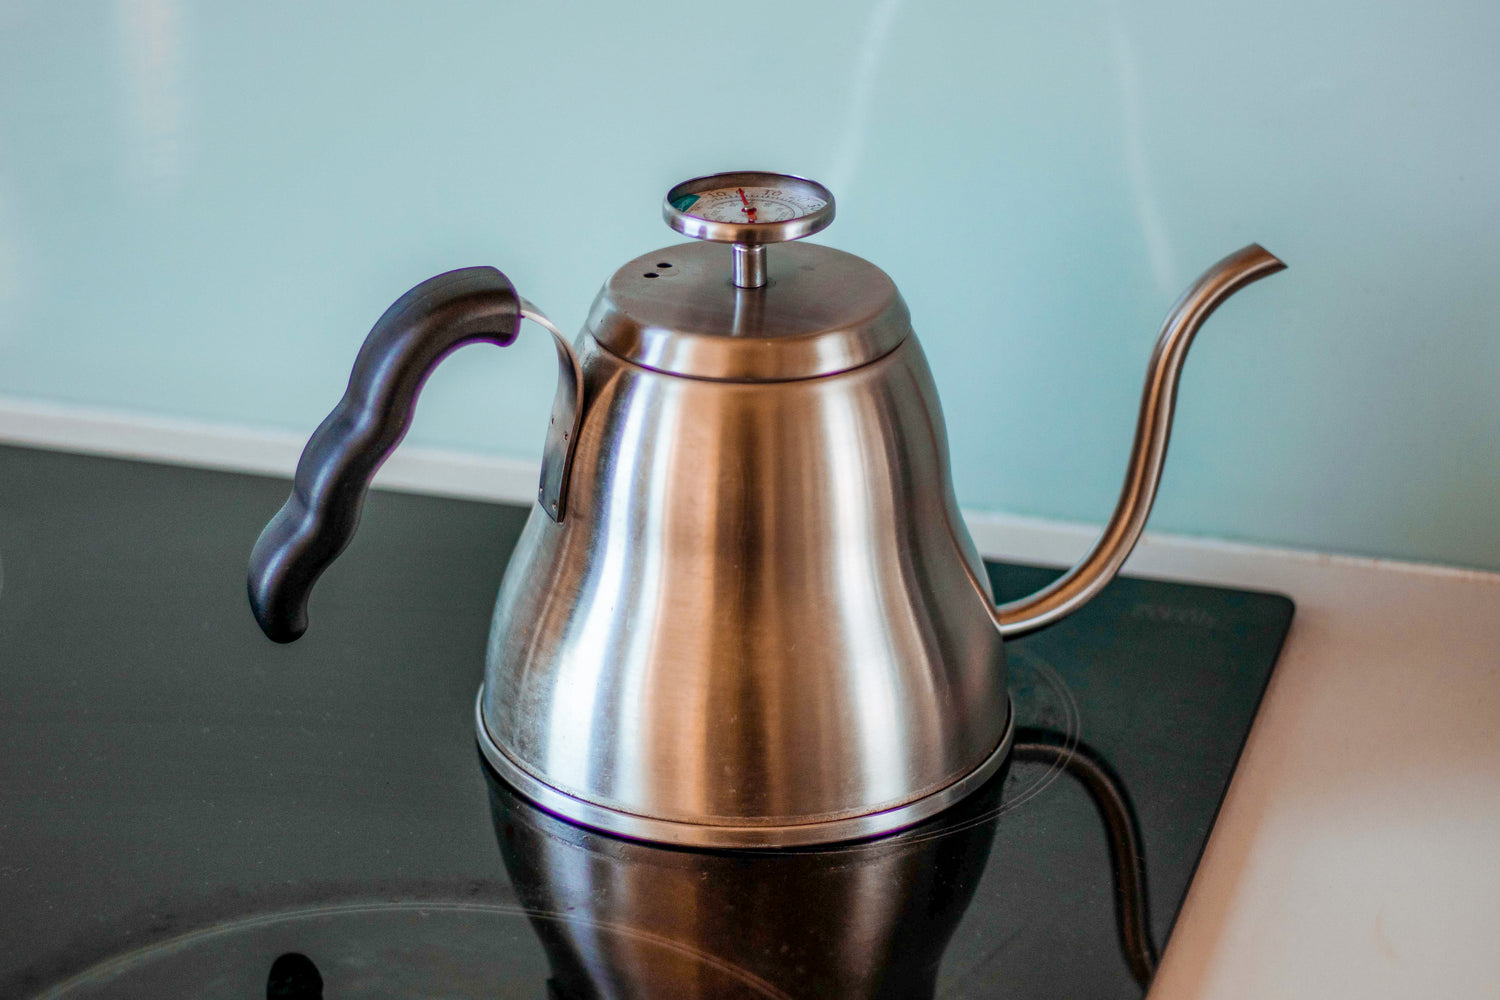
Step 4: Boil Water
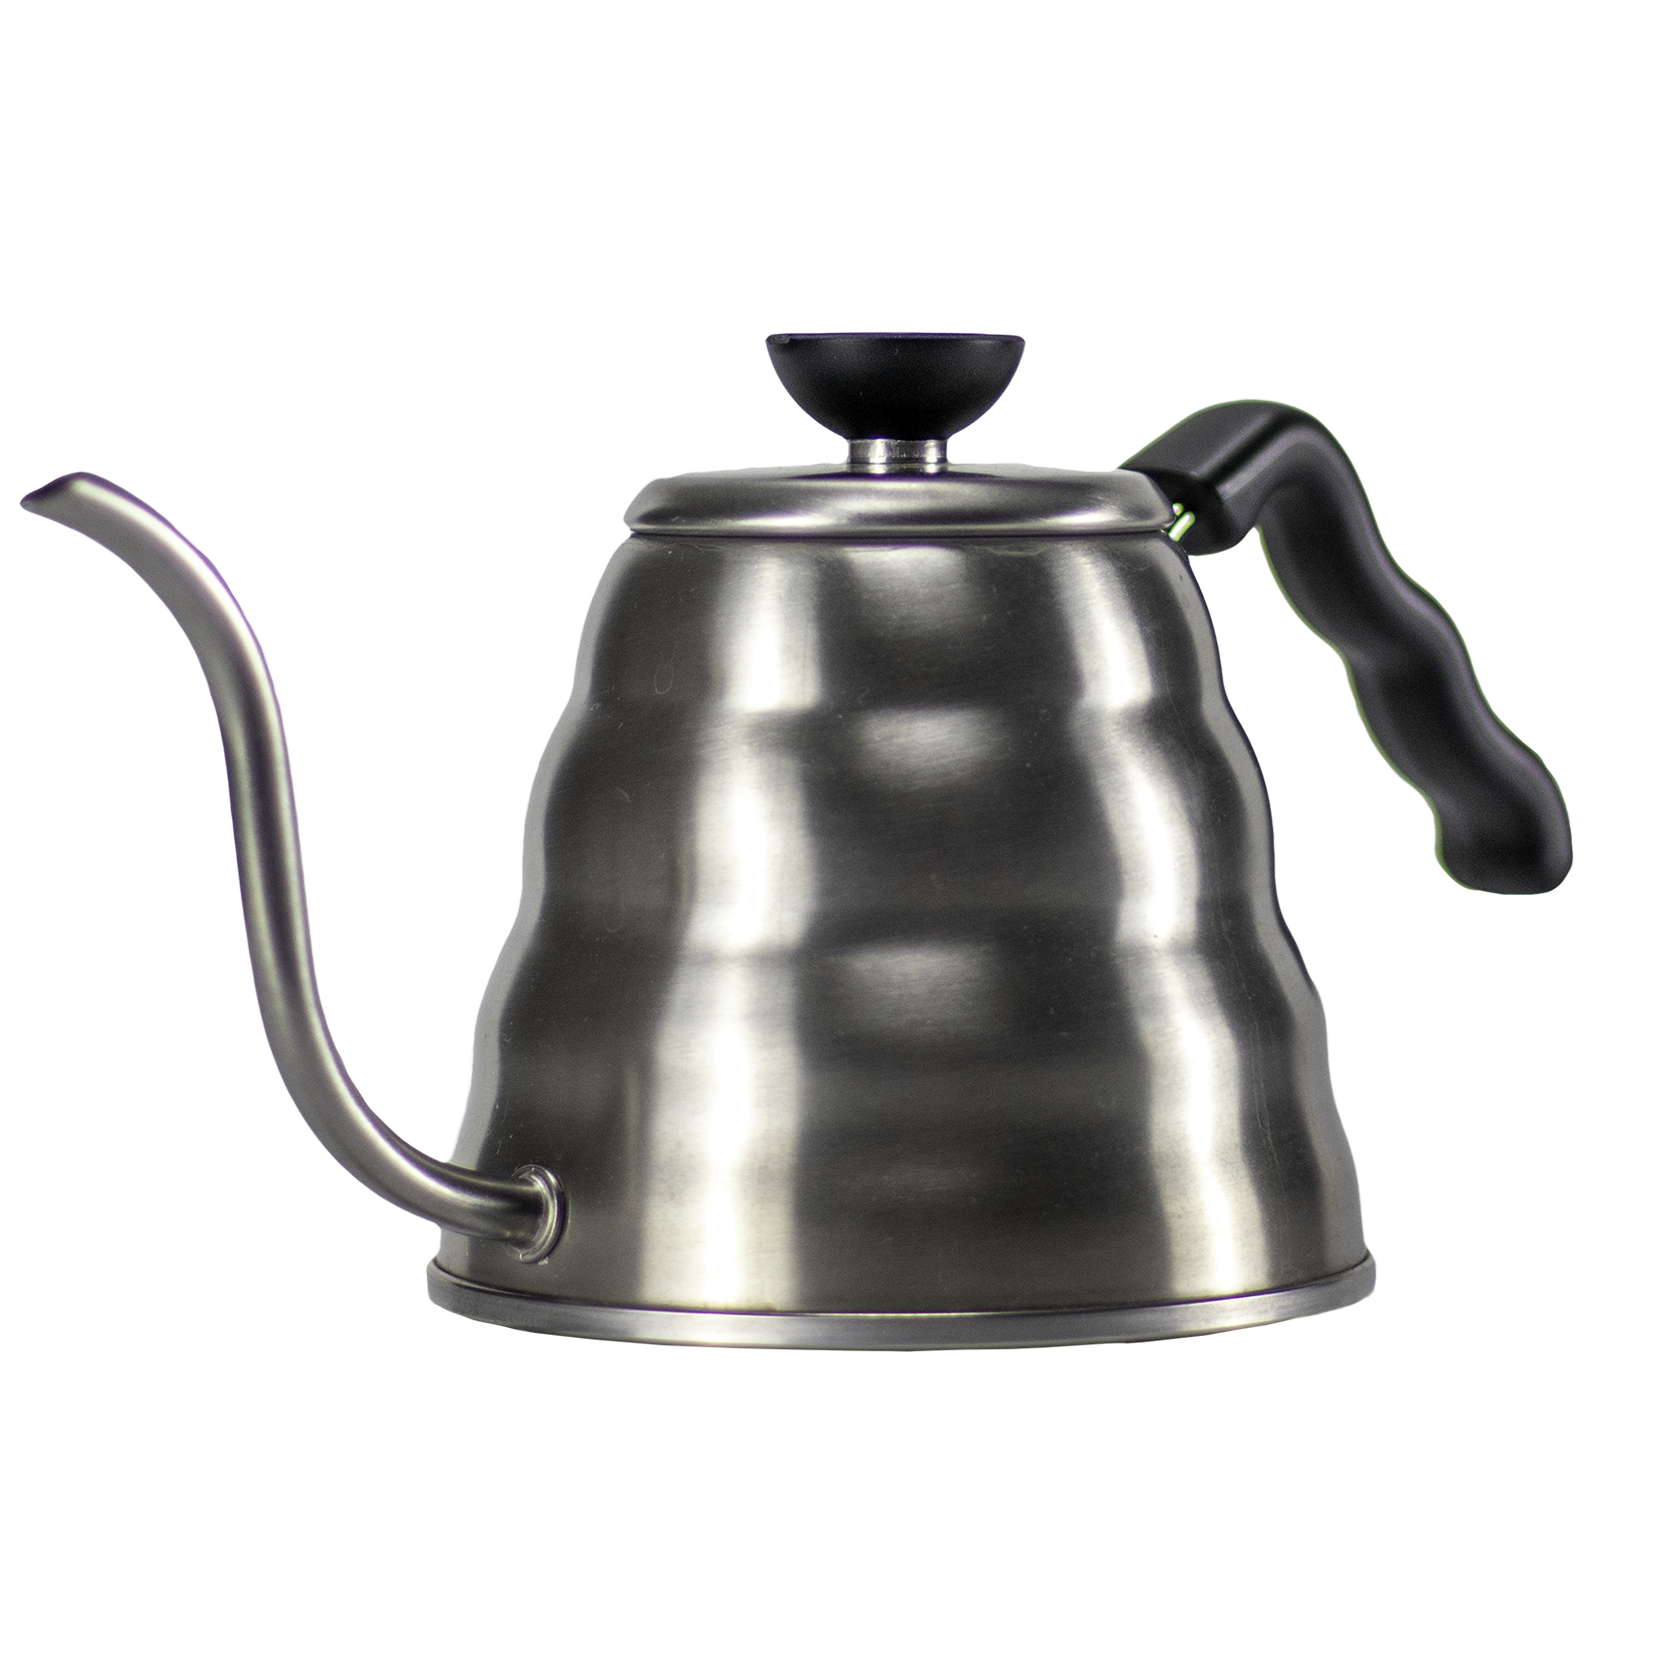
Fill your kettle halfway with cold, filtered water (about 500mL) and heat it to a boil.

Step 5: Rinse Filter
Once your water is boiling, take your kettle off the heat and pour some water over your filter. Make sure that you evenly wet your entire filter. Rinsing your filter before brewing helps create a seal between the filter and the brewer, and also removes any paper flavors from the filter that would otherwise be imparted into your final brew. Swirl the hot water around your mug (or carafe) to preheat your mug, and then dump the rinse water.
Step 6: Add Coffee
Place your brewing setup (V60 brewer with filter and mug) on the scale and tare it. Add your ground coffee to the filter, double-checking your coffee weight, and then tare your scale again.
Step 7: Bloom
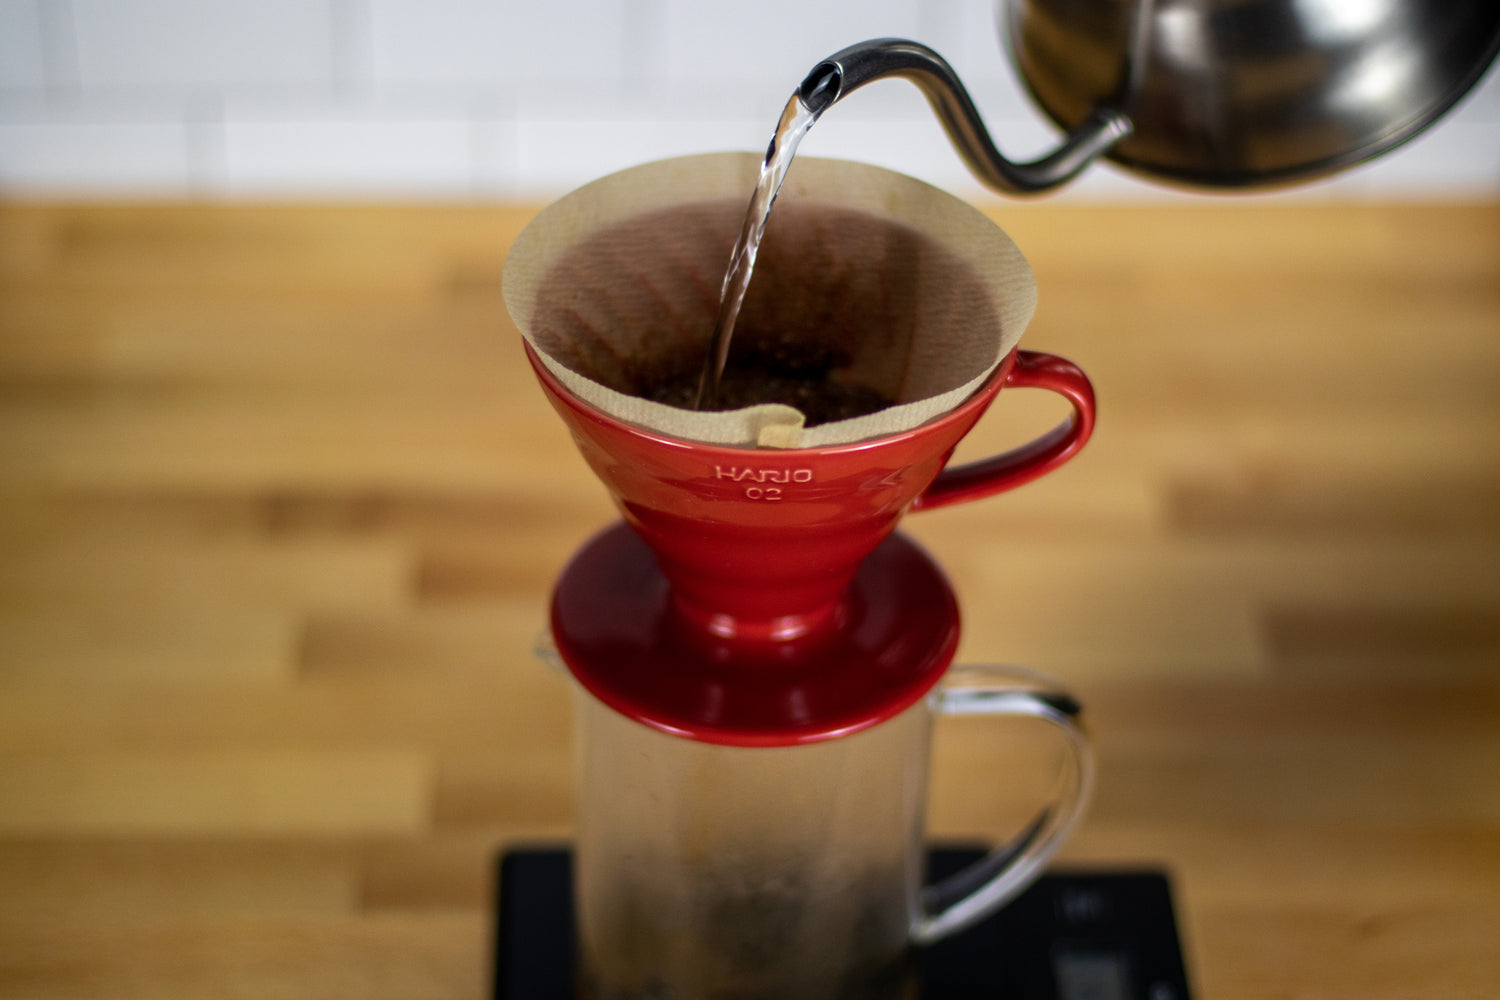
Start the timer on your scale and pour hot water onto your ground coffee in a slow, spiral motion. Your water should be around 200°F, not boiling; this will allow the most extraction without scorching your ground coffee. You want to pour enough water that you double the weight of your ground coffee. For this recipe, you will want to pour 42g of water during the bloom phase (double our 21g weight of ground coffee). Make sure that all of your ground coffee is evenly saturated, and allow your coffee to bloom for 30 seconds.
A Note On Blooming
Blooming coffee is an important step in manual brewing, whether you're brewing with a Hario V60, a Chemex, or even a French press. While your coffee blooms, you'll notice bubbles coming up and popping across the surface of your ground coffee. This is the carbon dioxide and other gasses that are trapped during roasting being released from the coffee. By allowing your coffee to bloom prior to starting the full brew you make sure that all of the trapped gasses are released instead of ending up in your cup and causing off-flavors, and it also allows the rest of your water to more fully and evenly extract all of the delicious elements from the coffee grounds.
Step 8: Main Pours
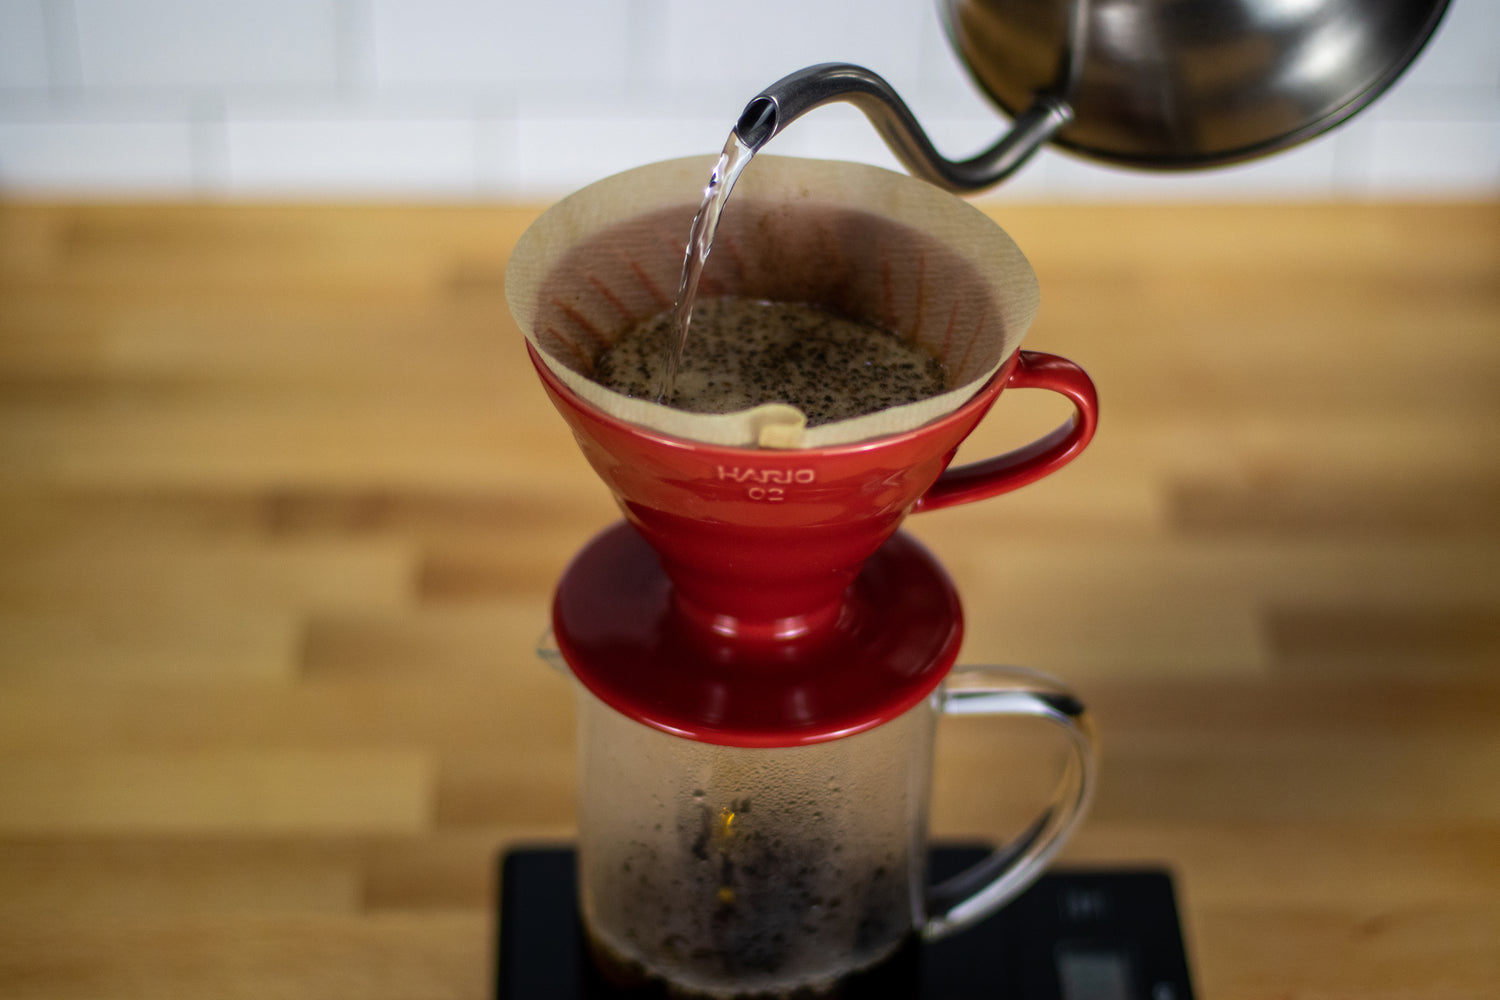
After your coffee has bloomed, start adding more water (again, around 200°F) slowly and carefully. Pour your hot water in spiral motions, ensuring that you keep all of your coffee grounds evenly saturated. For this first main pour, add water to about half your goal weight (175g for this recipe). Allow your coffee to brew, keeping a close eye on the water level in the filter. Once your water level has dropped about half an inch, start another pour. Continue in this pattern, adding between 50g and 75g per pour, until you have reached your final brew weight; in this guide, we’re looking for 350g total. This phase should take 2 to 3 pours, depending on how fast you pour and how even your grind is.
Step 9: Let Brew
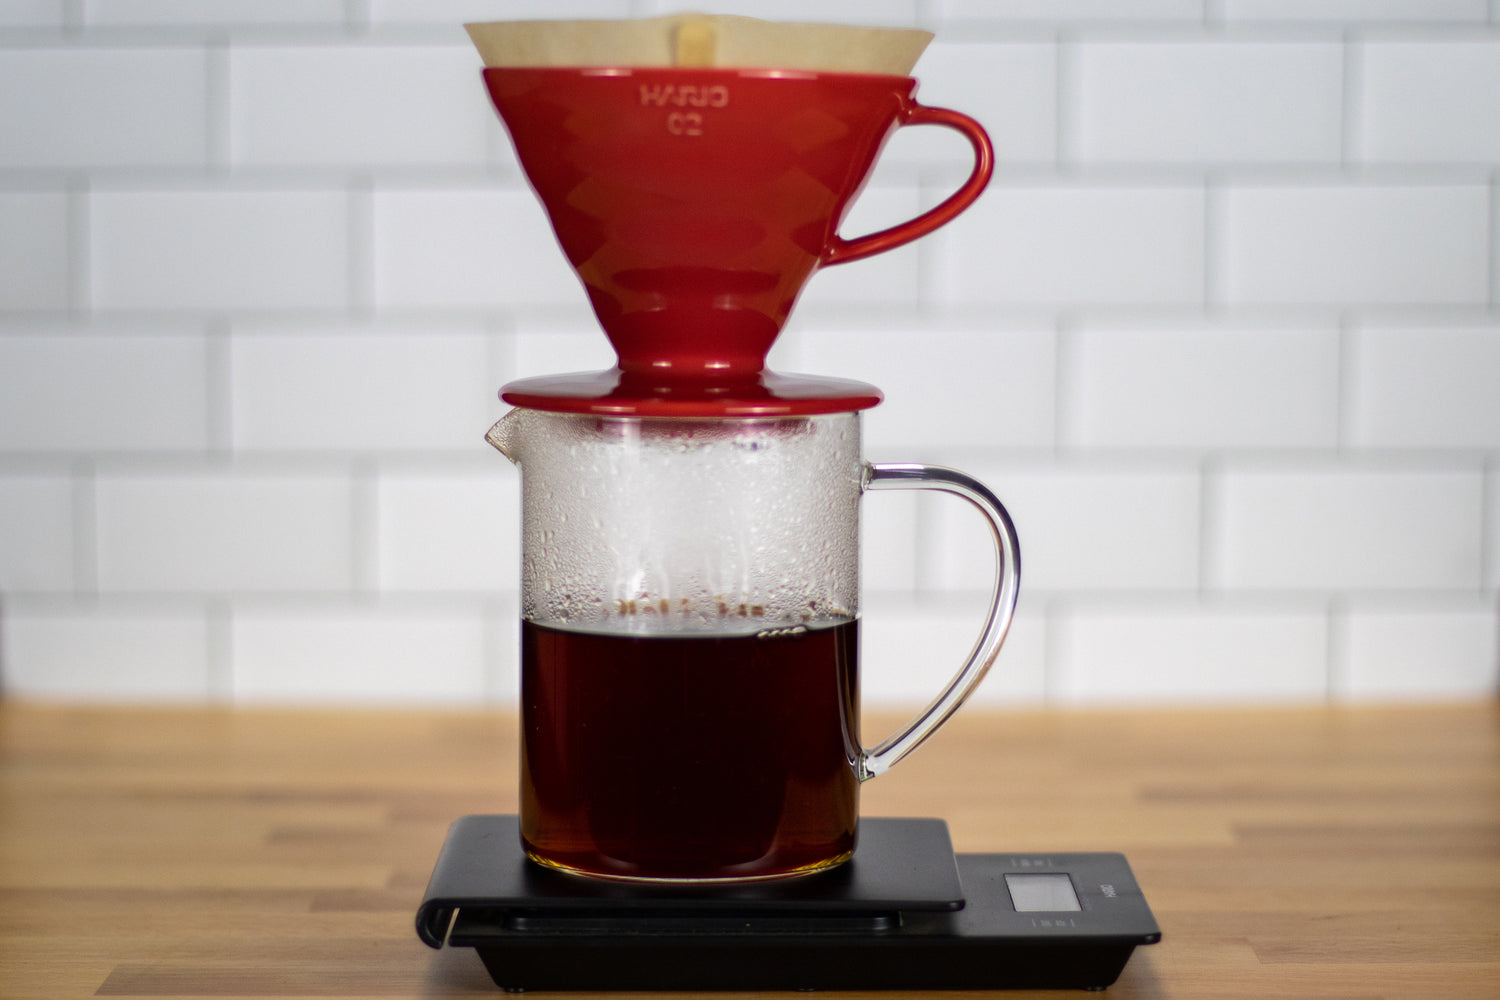
This is the hardest part! Allow your coffee to continue brewing, watching as the coffee drips from the filter into your mug or carafe. Your brew is finished when coffee stops dripping or when the coffee bed is completely visible and settled. The total time that we are looking for from the start of bloom until the end of the brew is between 2:30 and 3:30 minutes. If your brew time is shorter than 2:30 minutes, try pouring your water a little more slowly or grinding your coffee a little more finely. If it takes longer than 3:30 minutes, you might need to pour a little more quickly or grind your coffee a little more coarse.
A Note On Brew Times
By lengthening or shortening your total brew time, you can control how well the coffee is extracted. A faster brew might mean that you are under-extracting your coffee, meaning that you aren’t getting the full flavor present in the beans in your final cup. Under-extraction can also result in a slightly more acidic cup of coffee. A slow brew might cause over-extraction, creating a more bitter final cup. However, all of these flavors and extractions are subjective and it’s up to you to find what you like best! By playing around with how fast you pour and the coarseness of your ground coffee, you can dial in your brew method until you find the perfect brew for you!
Step 10: Enjoy!
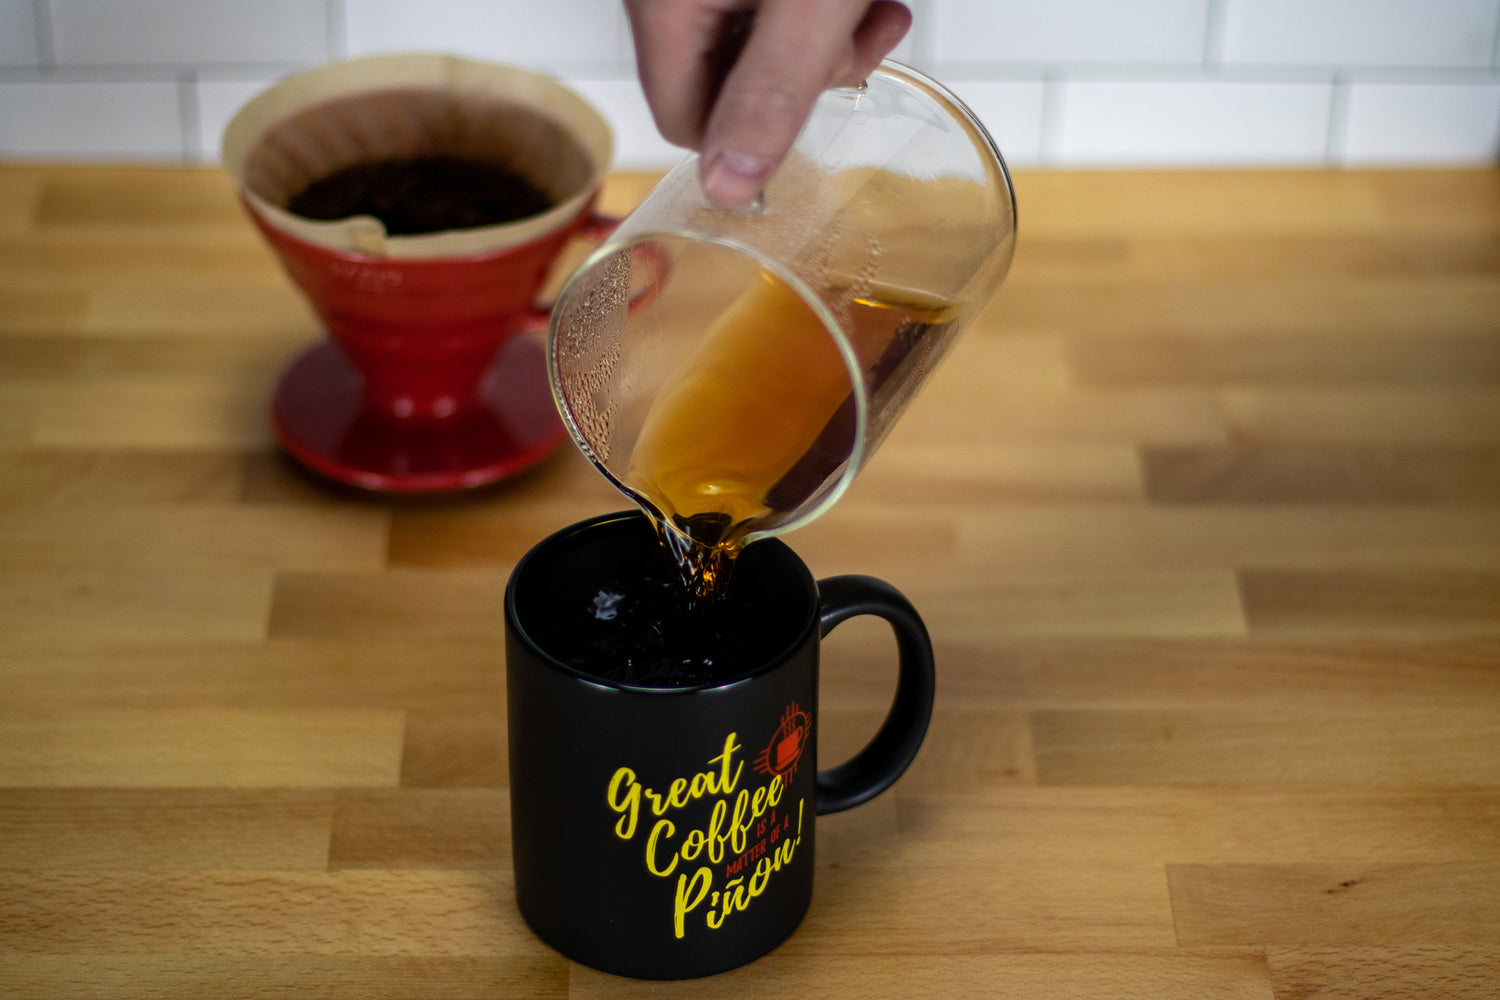
You made it to the end. Way to go! See, we told you it wasn’t that hard. Now it’s time to enjoy the fruits of your labor by sitting back and sipping down some delicious, freshly brewed, coffee! Set the V60 brewer aside and either pour yourself a mug from your carafe or enjoy it straight from your brewing vessel.
A Note On Filters and Coffee
Unbleached paper filters and spent coffee grounds are great for compost, and spent coffee grounds on their own are an amazing fertilizer. Add them to your favorite potted plant or sprinkle them in your garden to give your soil a nice nutrient boost!


